After we completed the House that Worked Out to a stage where we could shut all the doors and move in, we slowed down a LOT. We were so relieved to be finished with the dirty work, and we were so enamoured with our new home, with all of its lovely warmth and space, that for a long time…we didn’t do anything else.
And that was all very well during winter, when we spent most of our time indoors anyway, but during summer, when we wanted to sit outside in the breeze, we had nowhere pleasant to go. Immediately beyond the house thresholds, our property was still an ugly, dusty, building site. We set about creating a nice outdoor sitting area.
Step 1- Windbreak Rock Wall
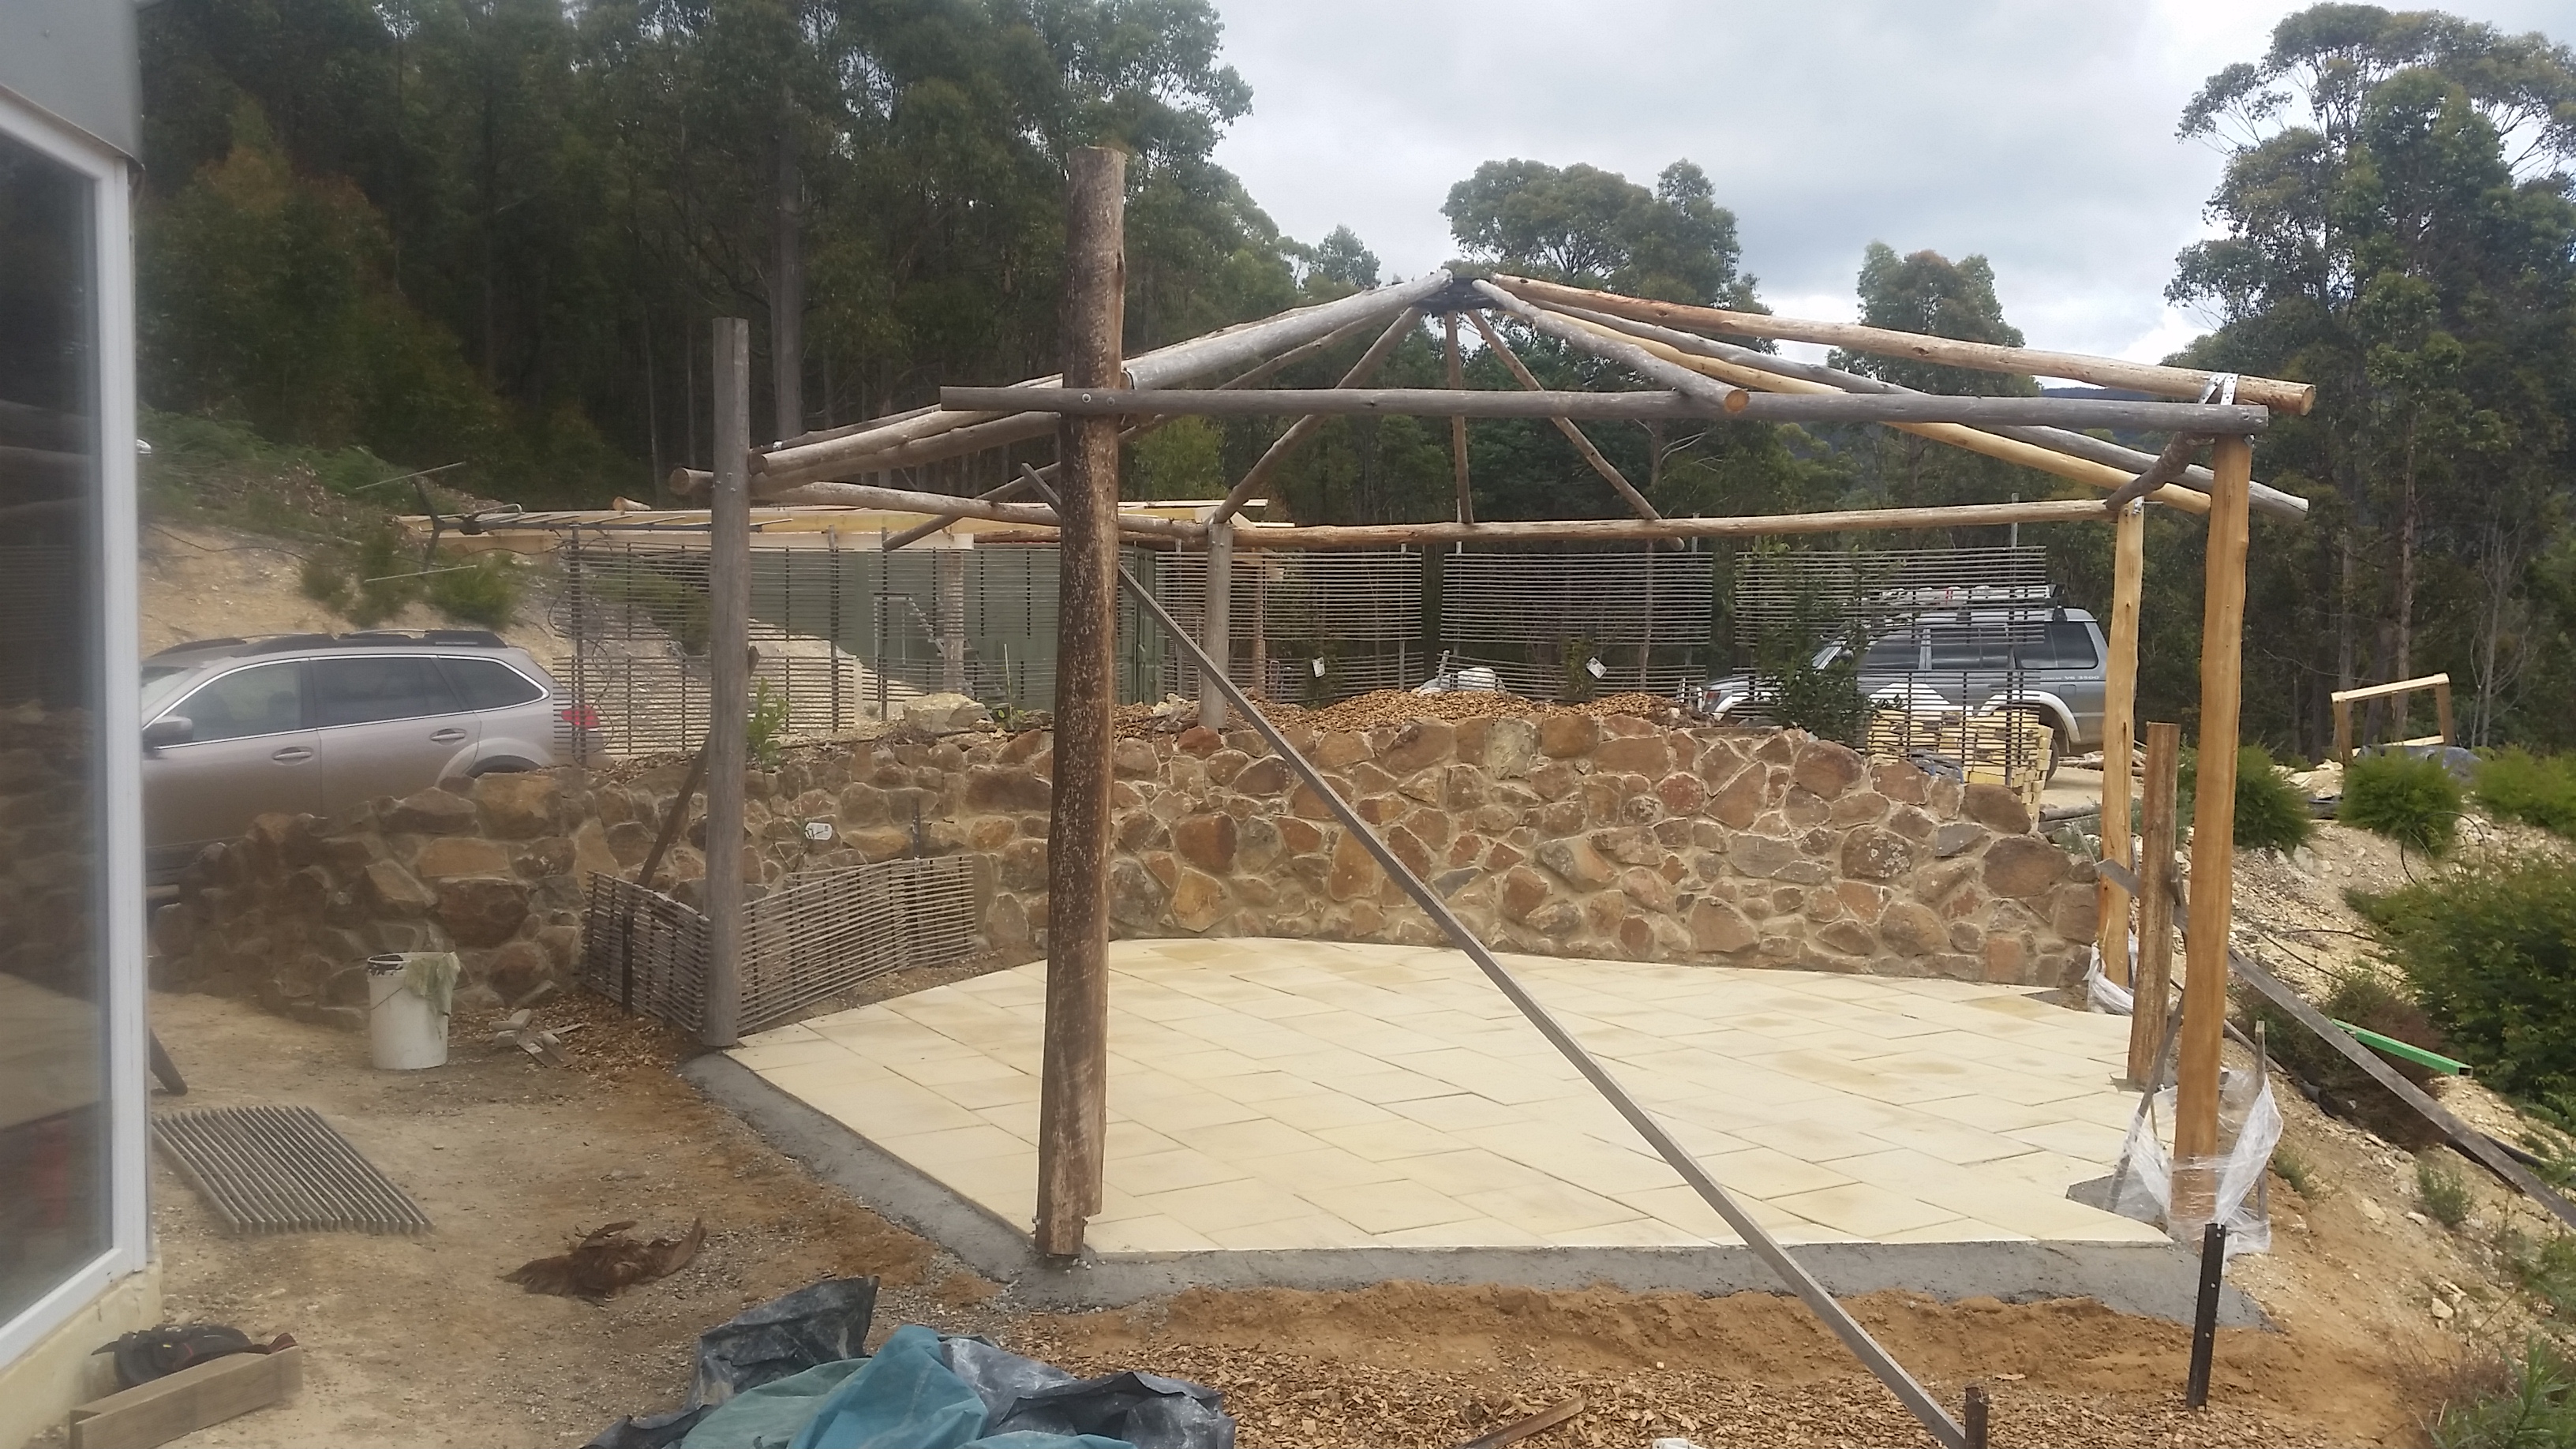
Even while building the house, we had been thinking ahead for our outdoor sitting area, and we had set aside a pile of dirt during our excavations to make a windbreak for our future patio. Once we had finished bringing materials to the housesite for the build, Peter moved this dirt into a nice crescent shape about chest high which formed the outline for a patio. As well as providing shelter against the worst of the westerly winds, the idea was that it would also act as a heat sink, creating a nice warm little microclimate in the winter. To really store the sun’s heat, we built a rock retaining wall against the wall of dirt.
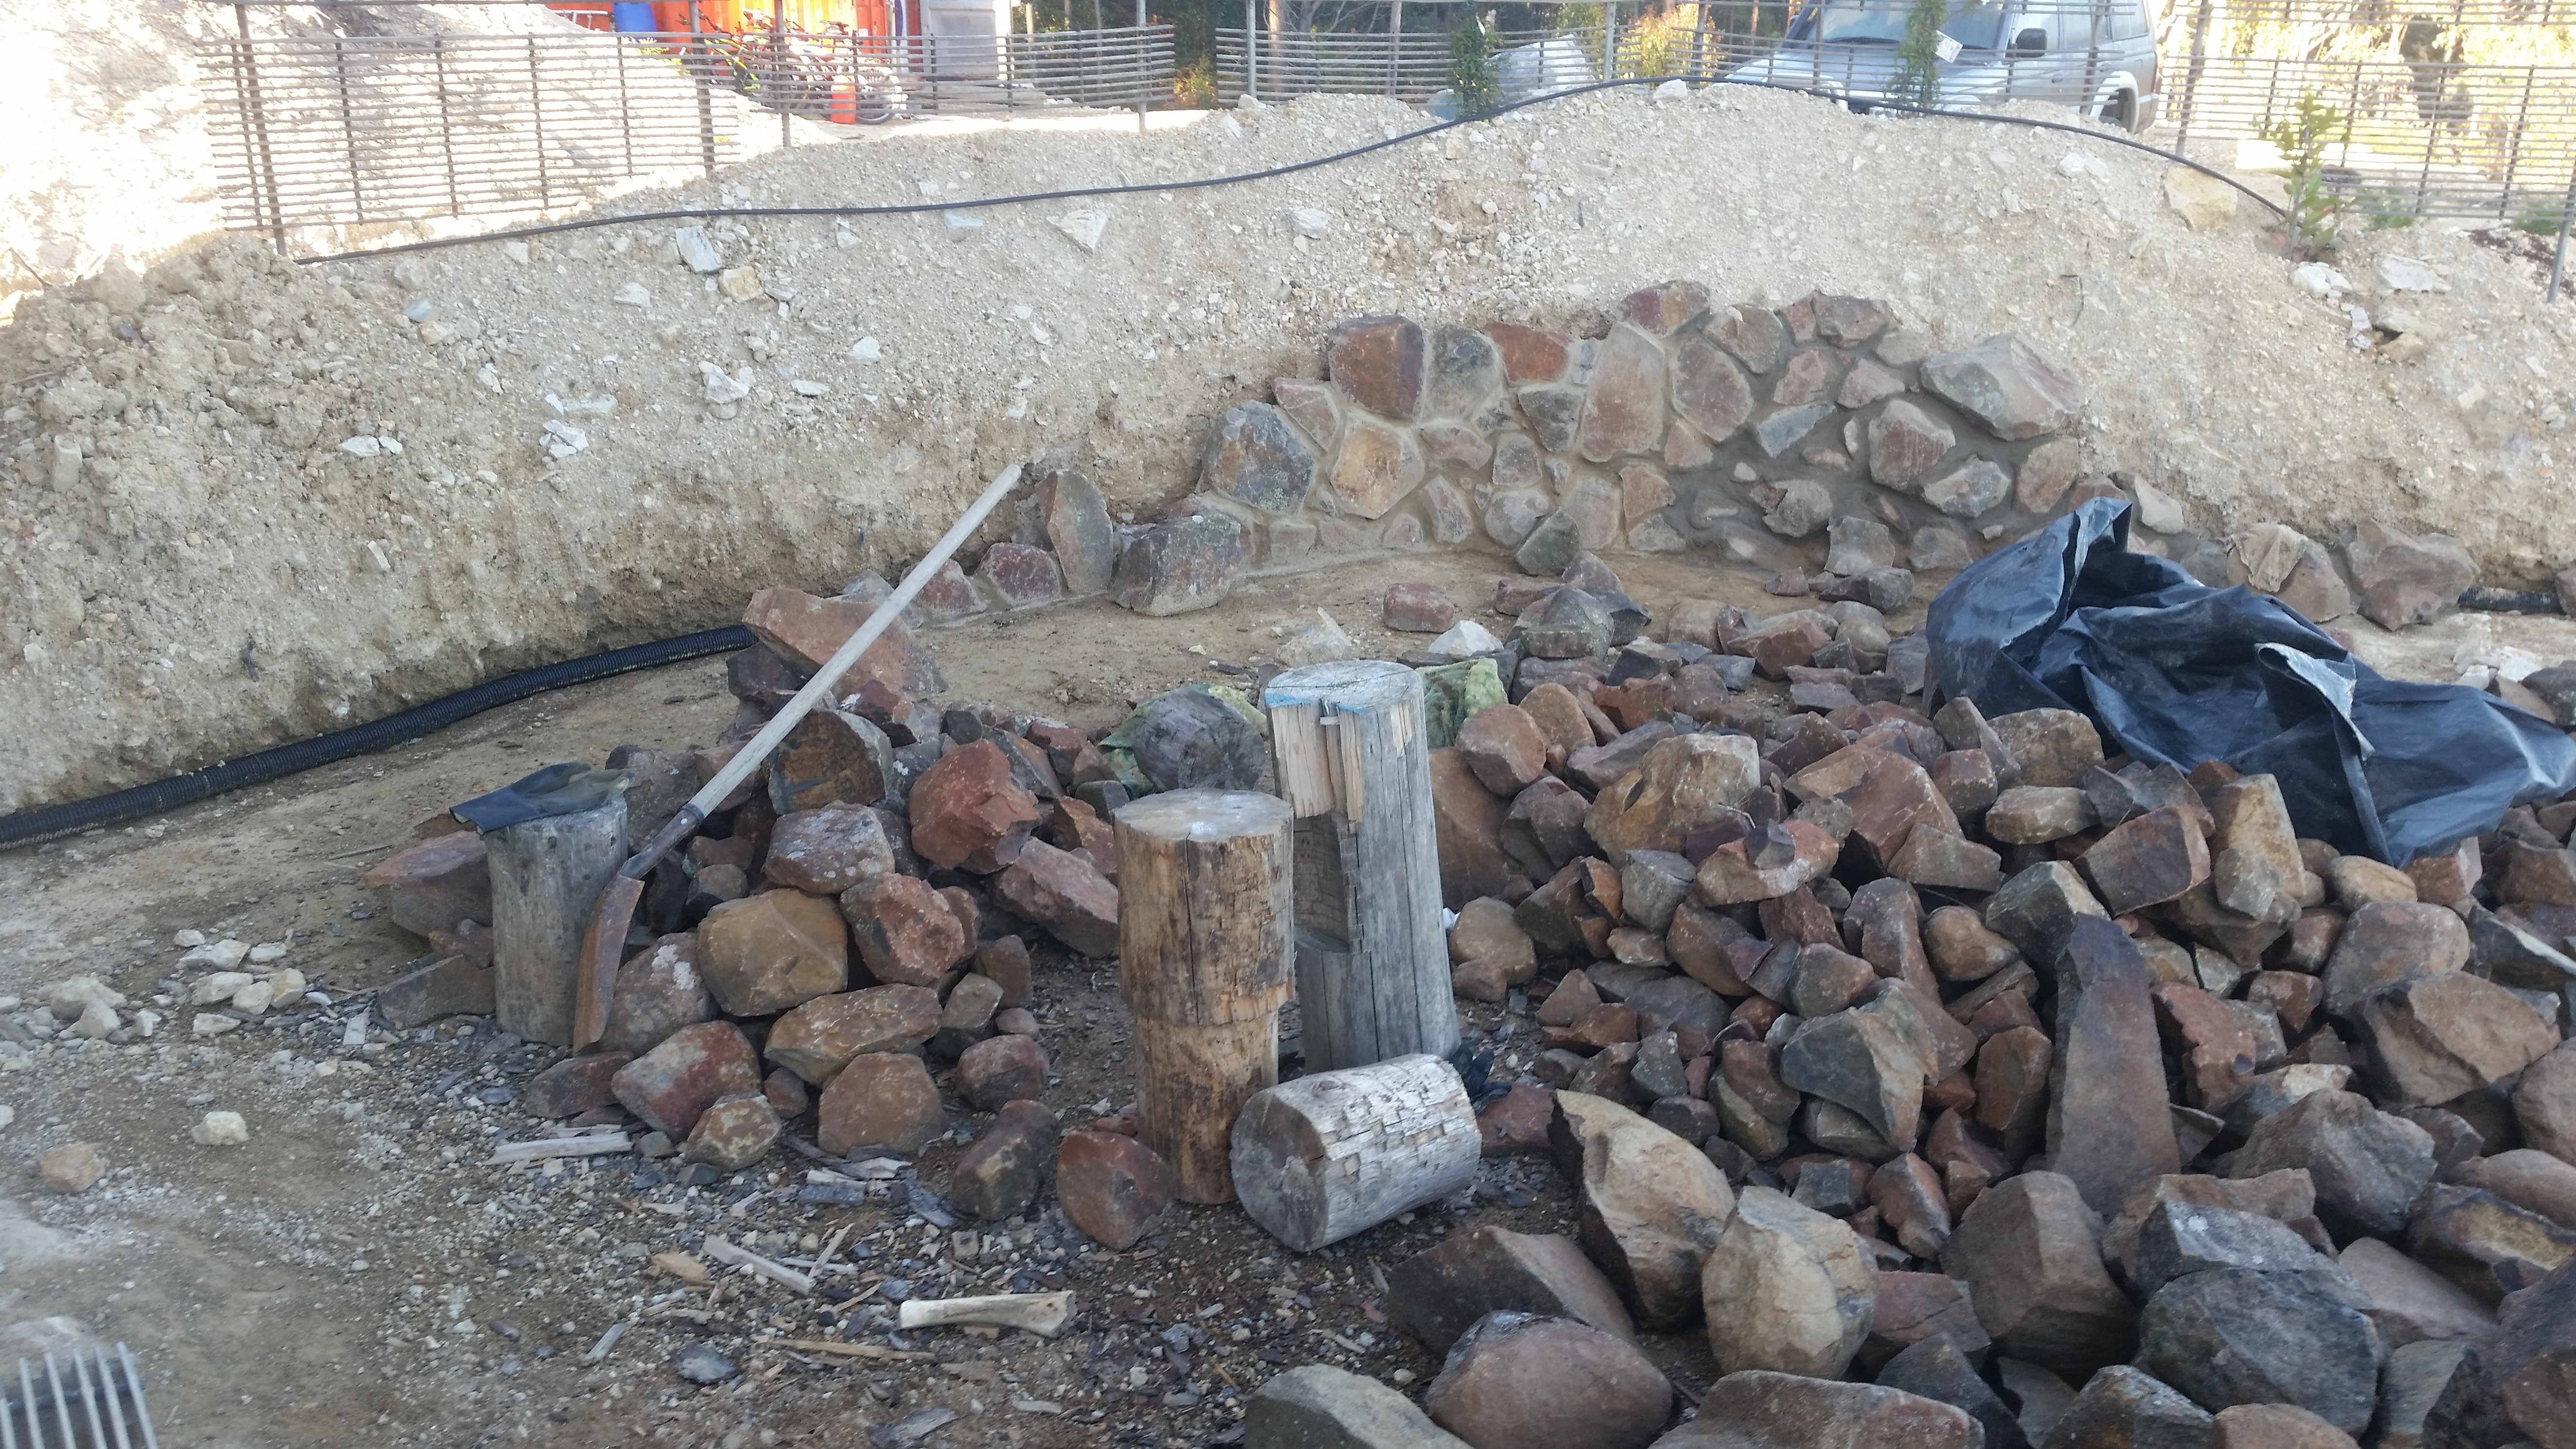
What can’t be seen from these photos is the drainage behind the rockwall. Before concreting the rocks into place, we needed to put in a drain at ground level to take water away from the wall to prevent cracking and/or collapsing.
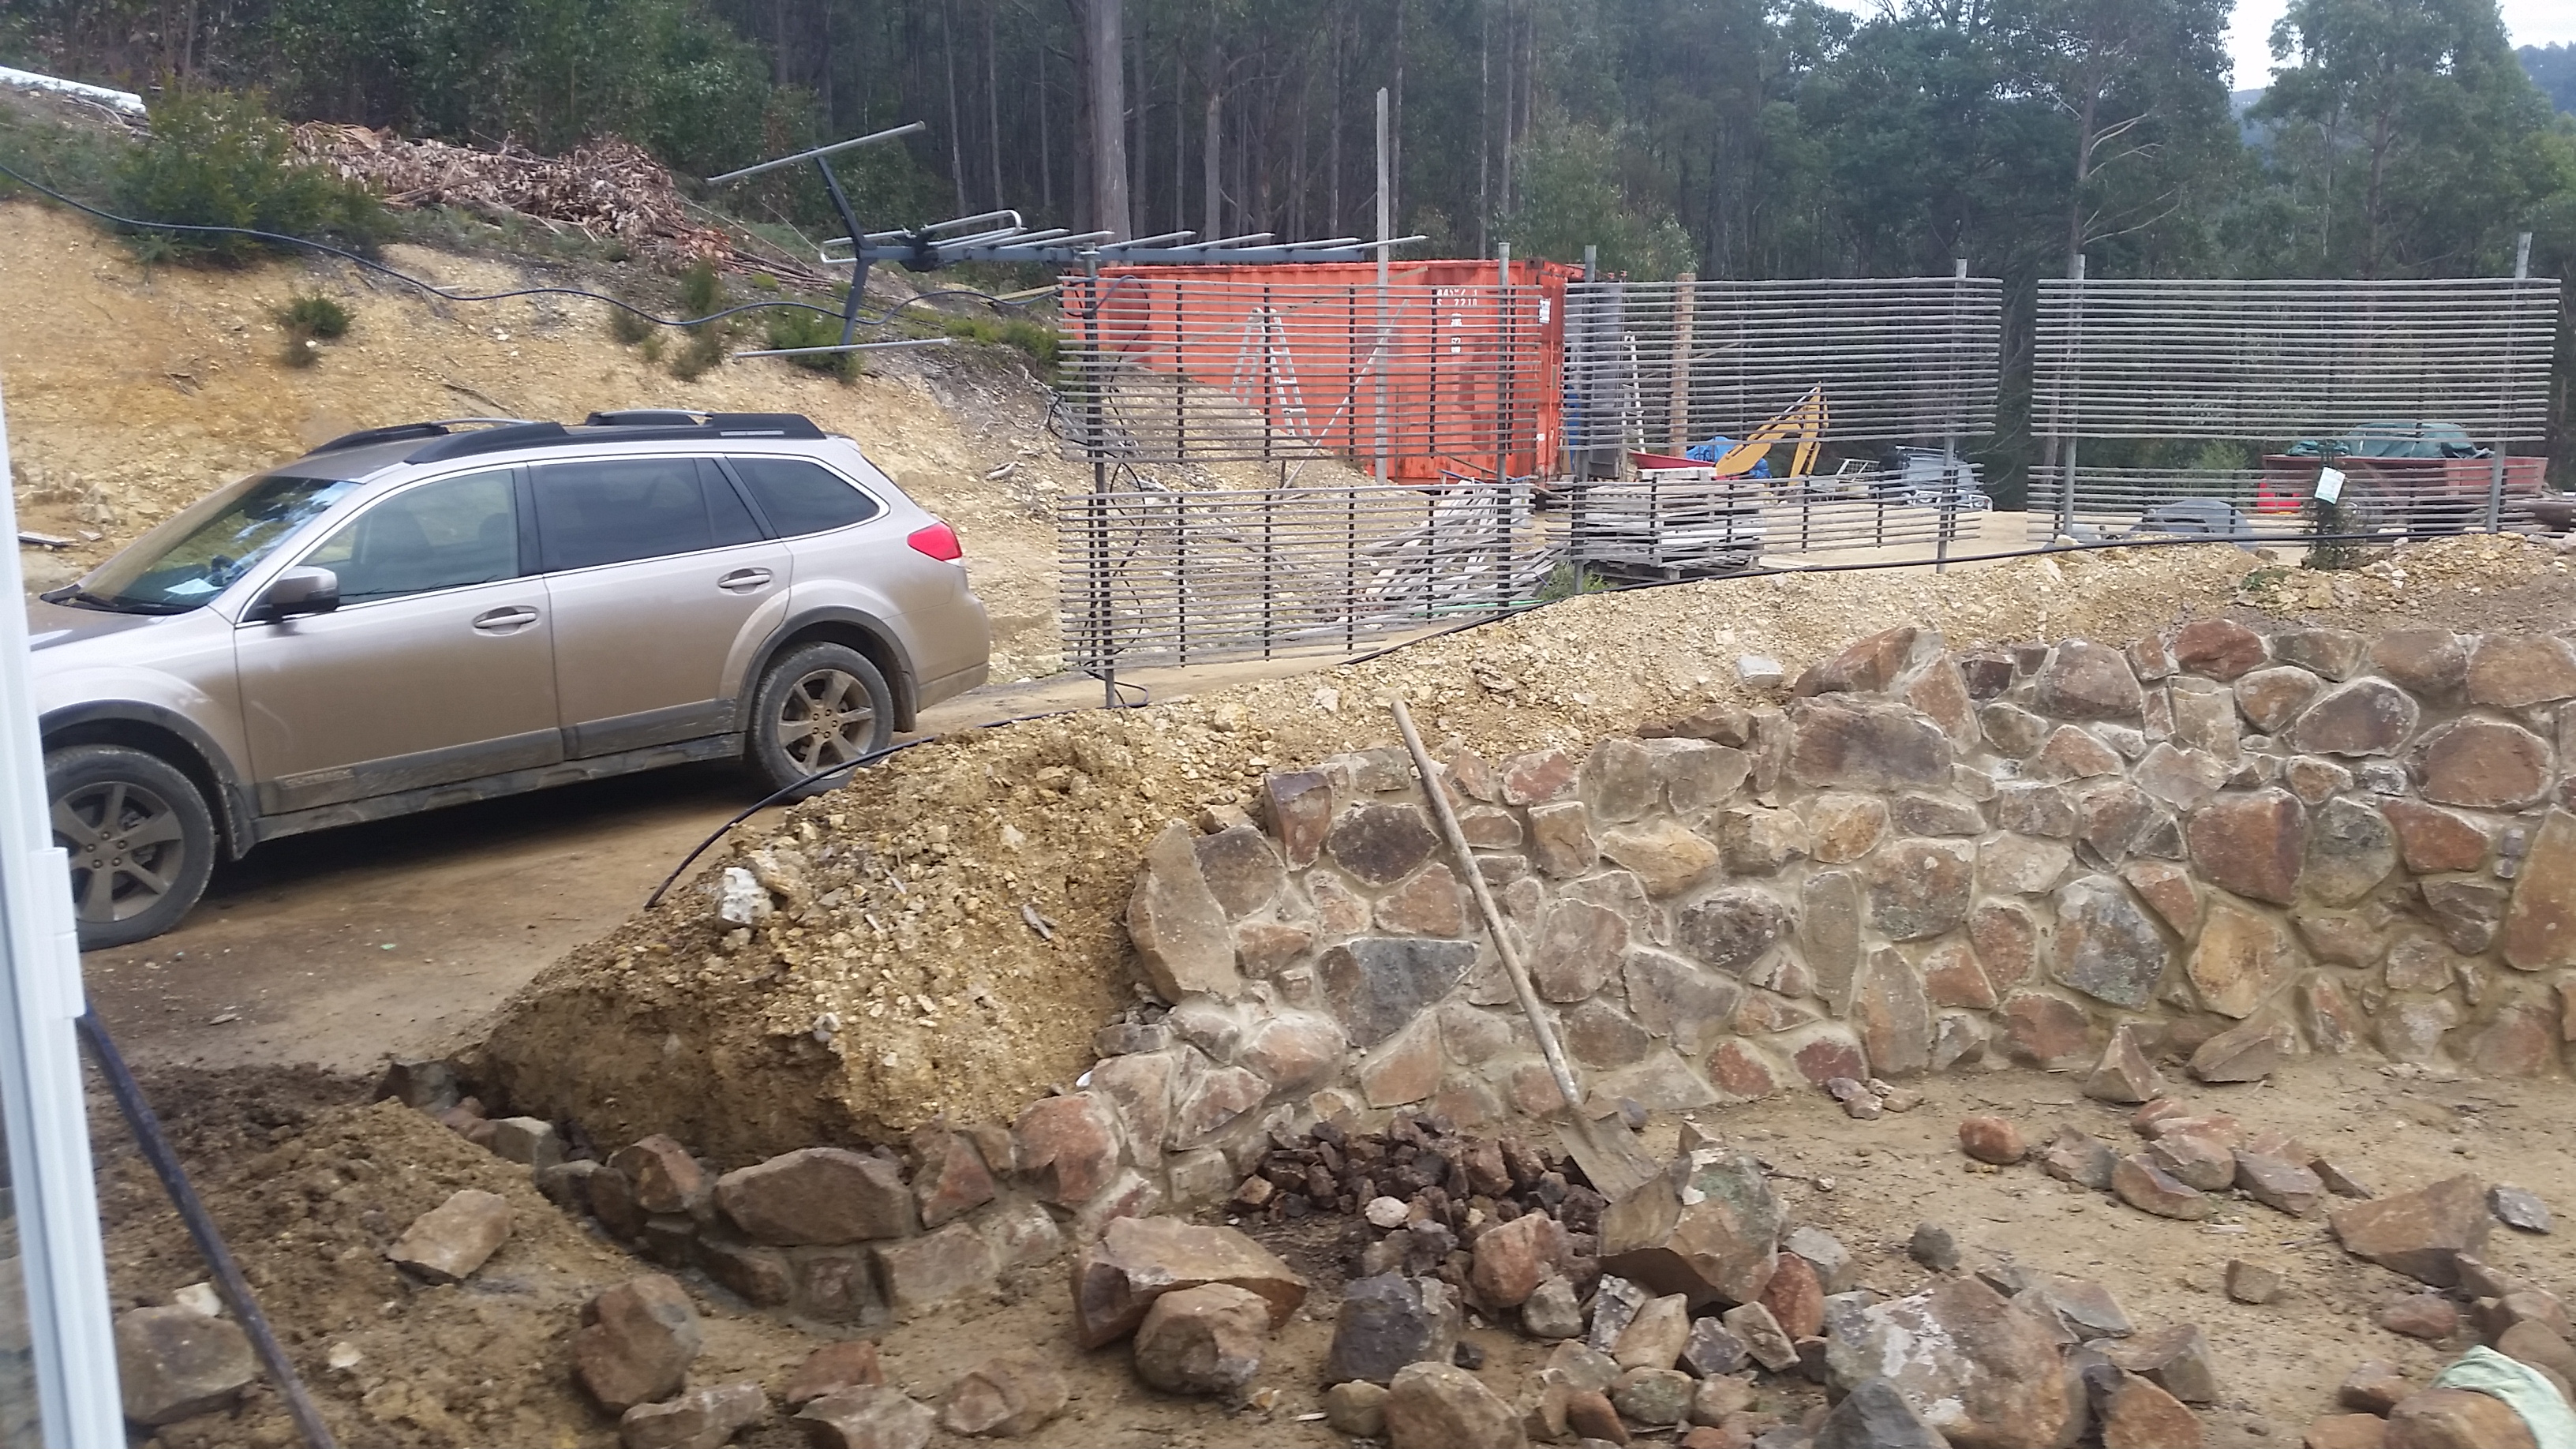
We put bamboo screens on top of the wall against which we planted jasmine and hardenbergia- these evergreen vines will give shade from the western sun, further shelter us from wind, block our view of our cars, and add to the aesthetics of the sitting area. Plus, there is nothing like the smell of jasmine to bring sunny, relaxing, summer days to mind.
Pergola
I had visions of lying on a pool lounge under a bower of wisteria (being fed grapes by a young Adonis, but that part was not relevant to the build), so we needed a pergola. The idea of the pergola was that it could be covered in a deciduous vine which would provide shade in summer but lose its leaves and allow the sun through in winter.
Again, we relied on bush poles for our building.

Our first plan was to make a frame with a reciprocal roof; a reciprocal roof is one which is self-supporting and does not require a central support. A central post would restrict the useable space in the patio, so we were keen to avoid one, but wooden roof rafters are only able to span a certain distance without support. Still, the reciprocal roof looked quite time-consuming to construct and would require a lot of bushpoles.
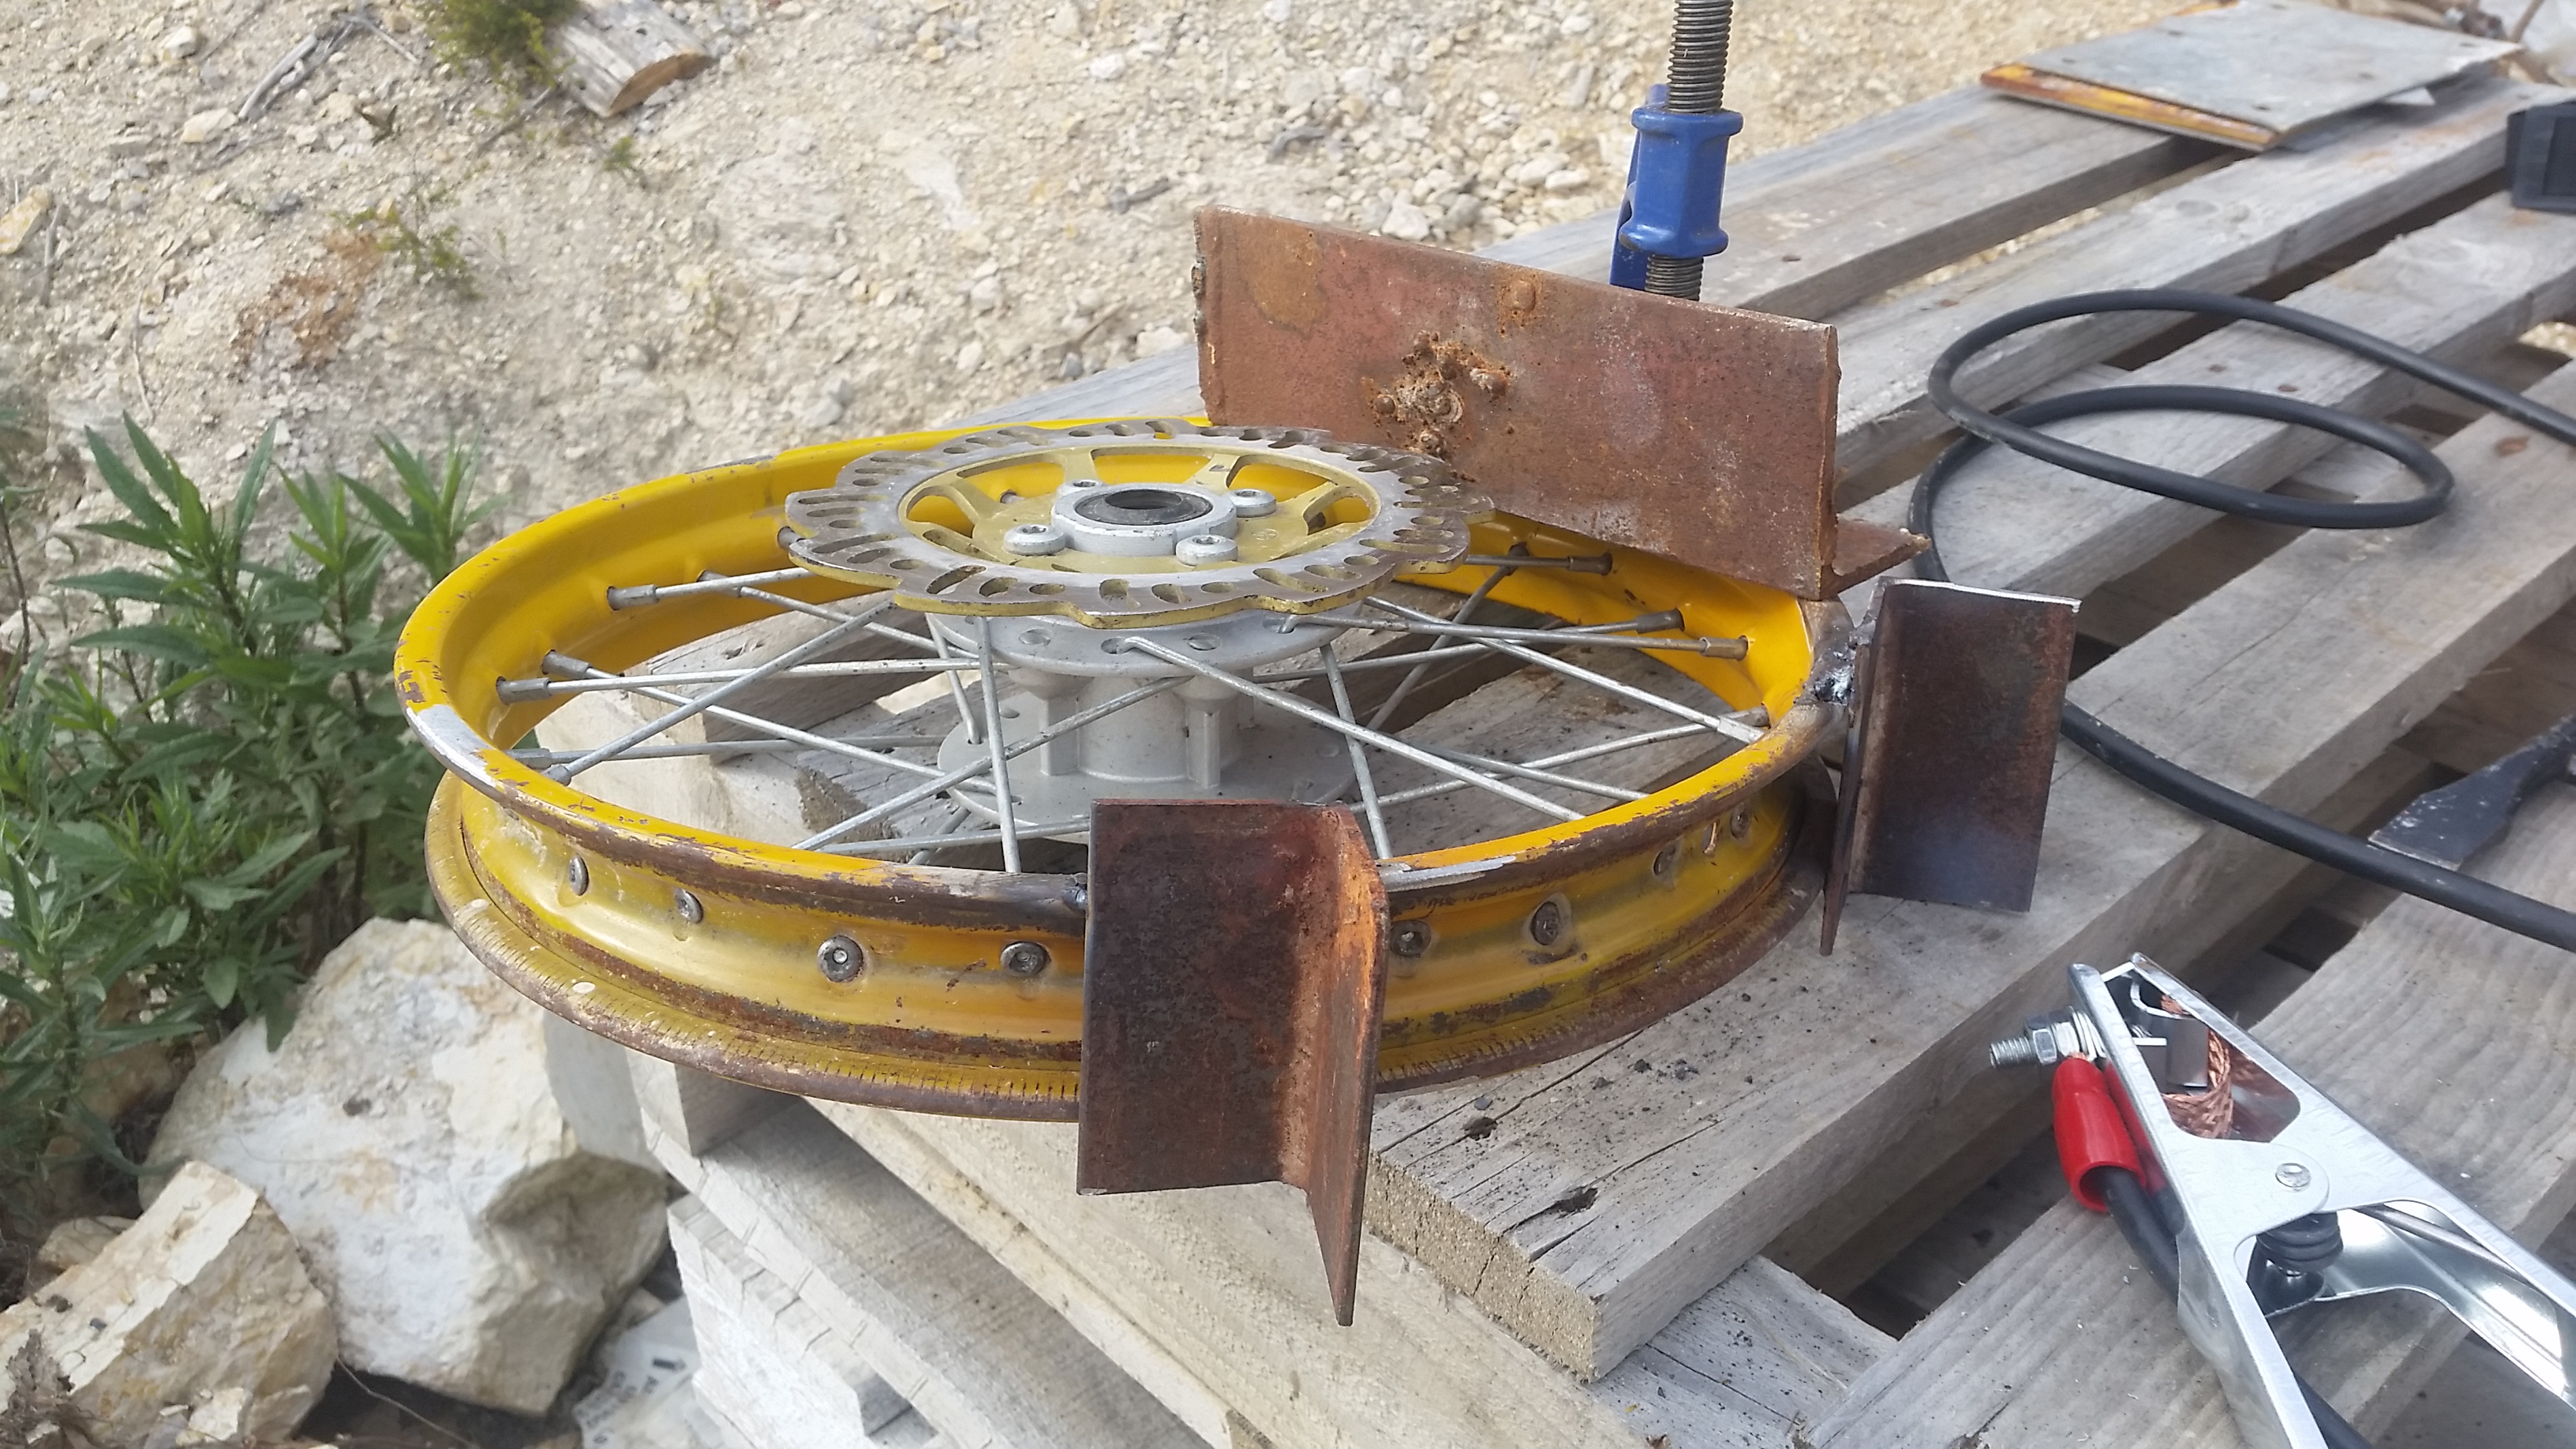
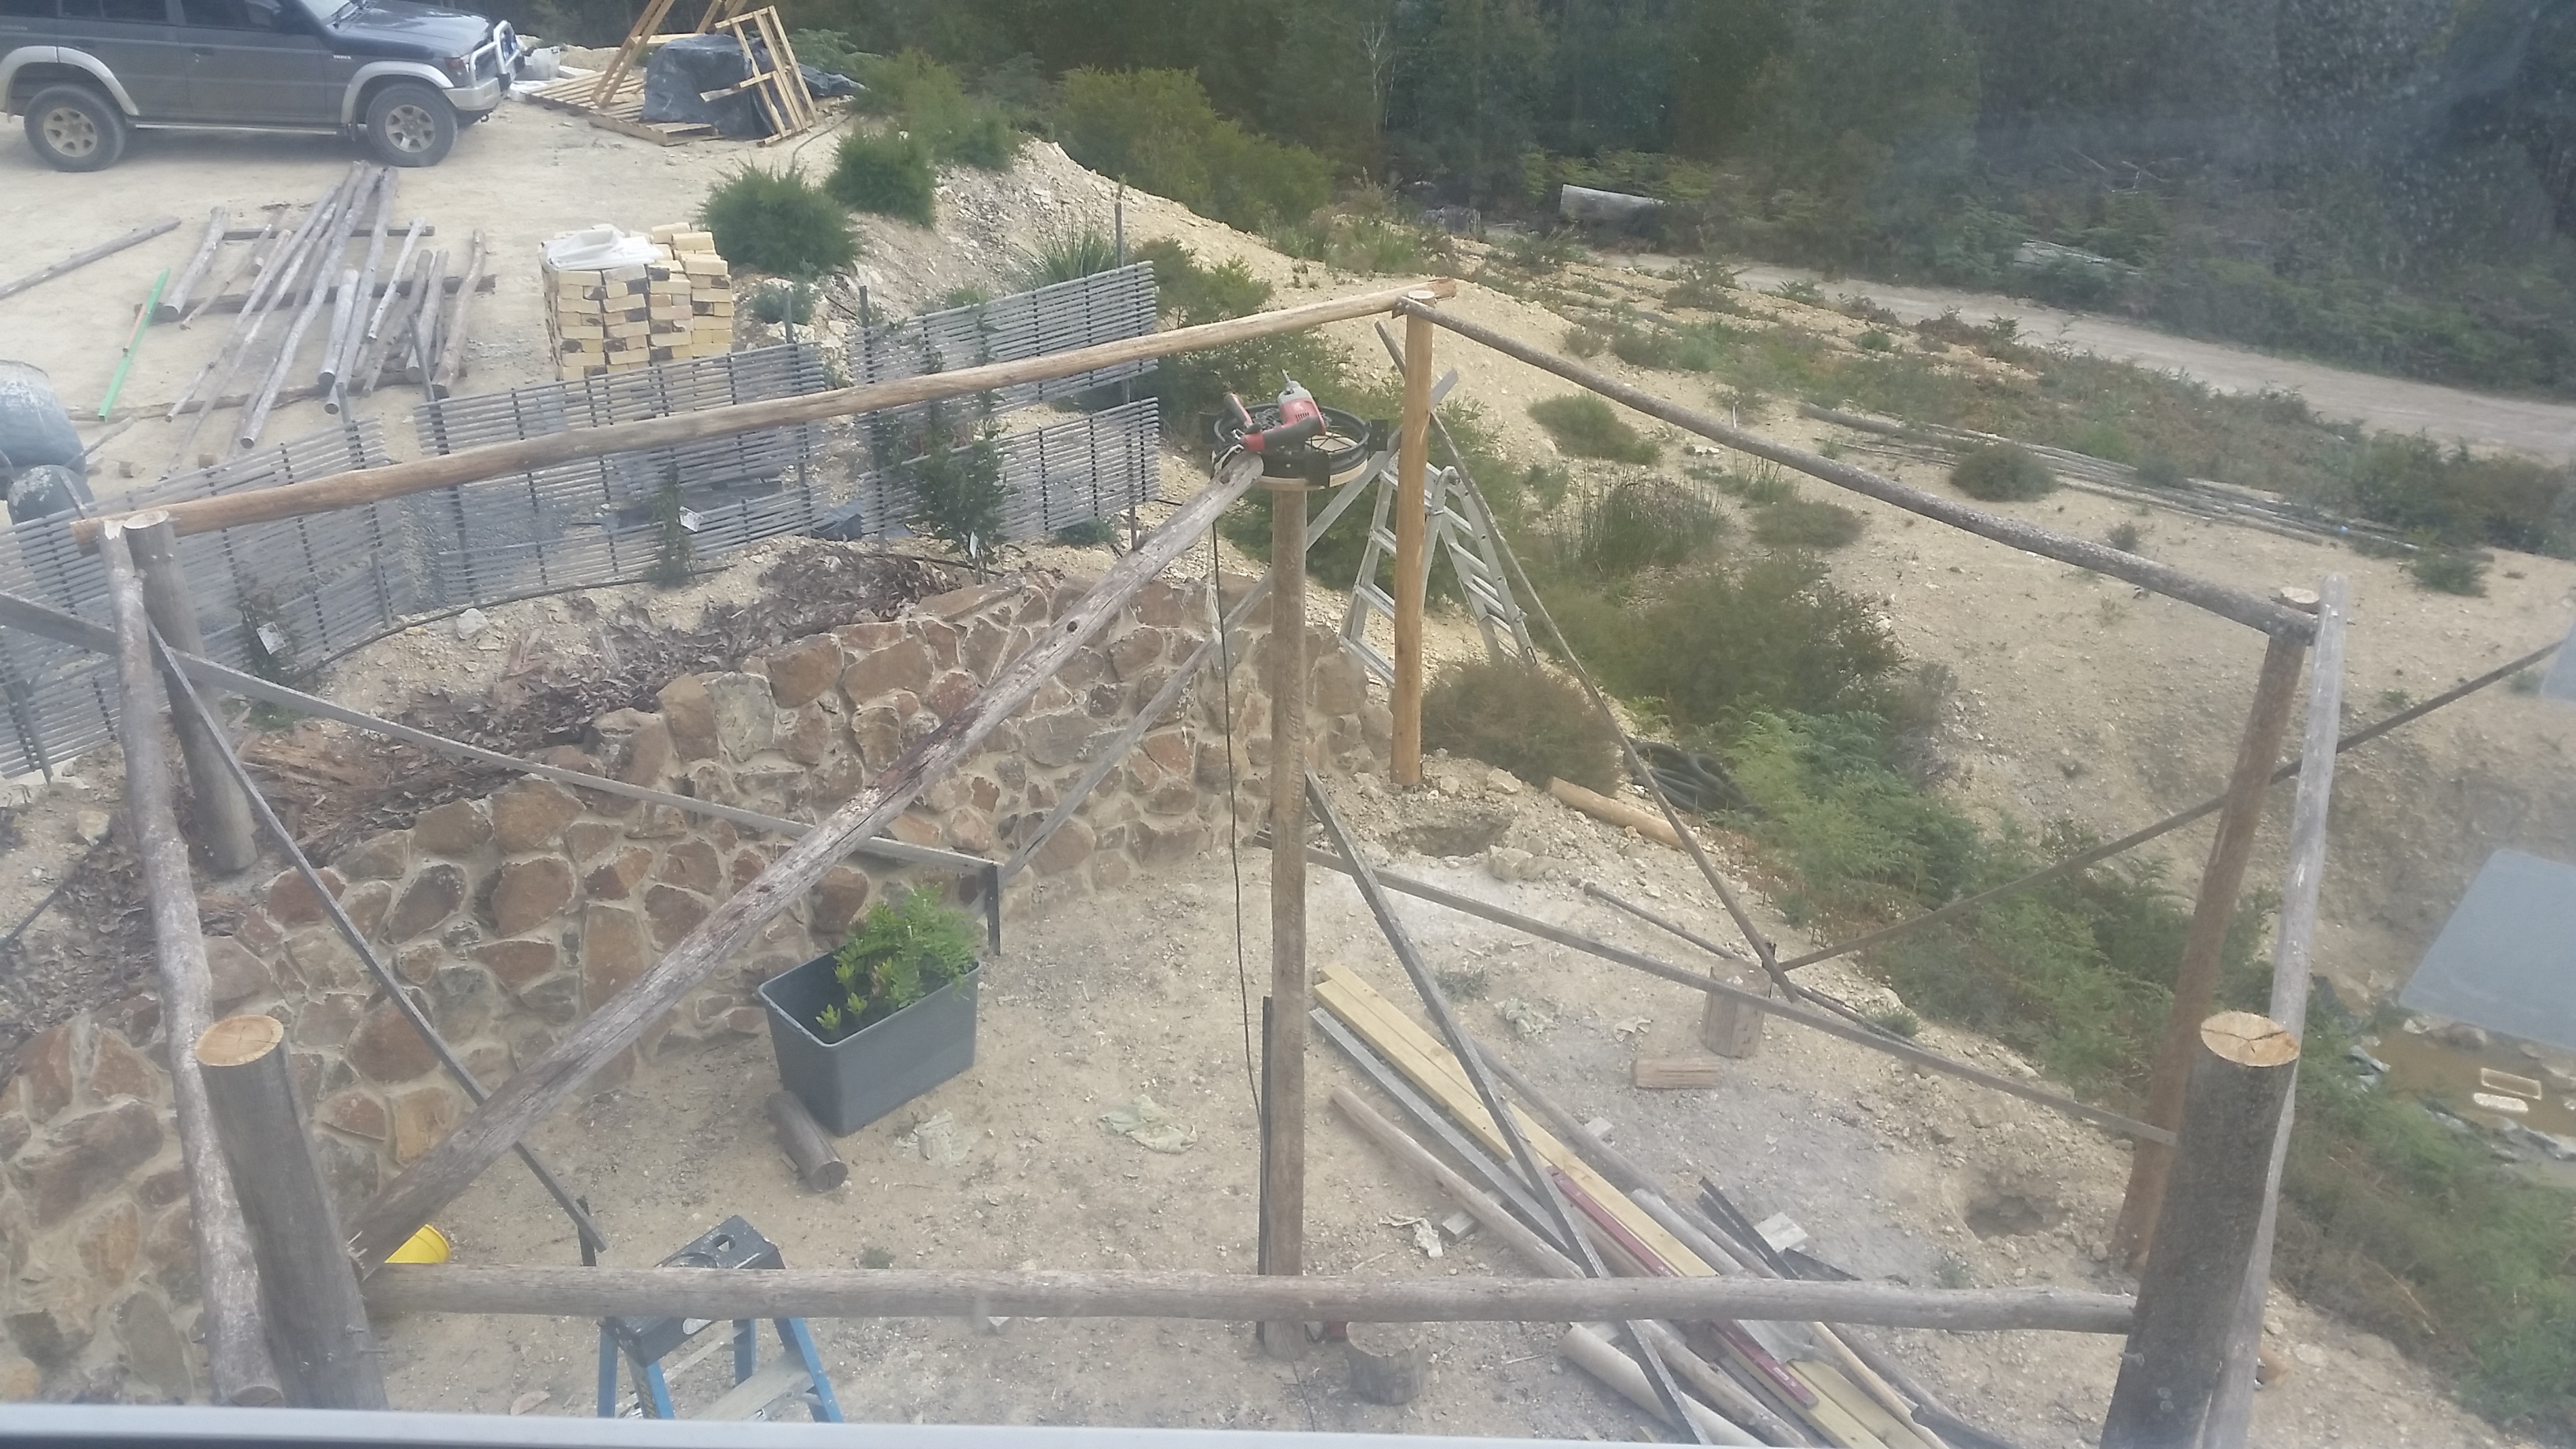
We ended up getting our inspiration from Lloyd Kahn’s invaluable book Builders of the Pacific Coast: in one of the projects built by Lloyd House, the wheel from a Ford truck was used as the centre hub to which all the rafters are attached. We set about doing the same with a motorcycle wheel picked up from the tip.
Peter welded attachment points to the wheel which would receive the ends of the rafters.
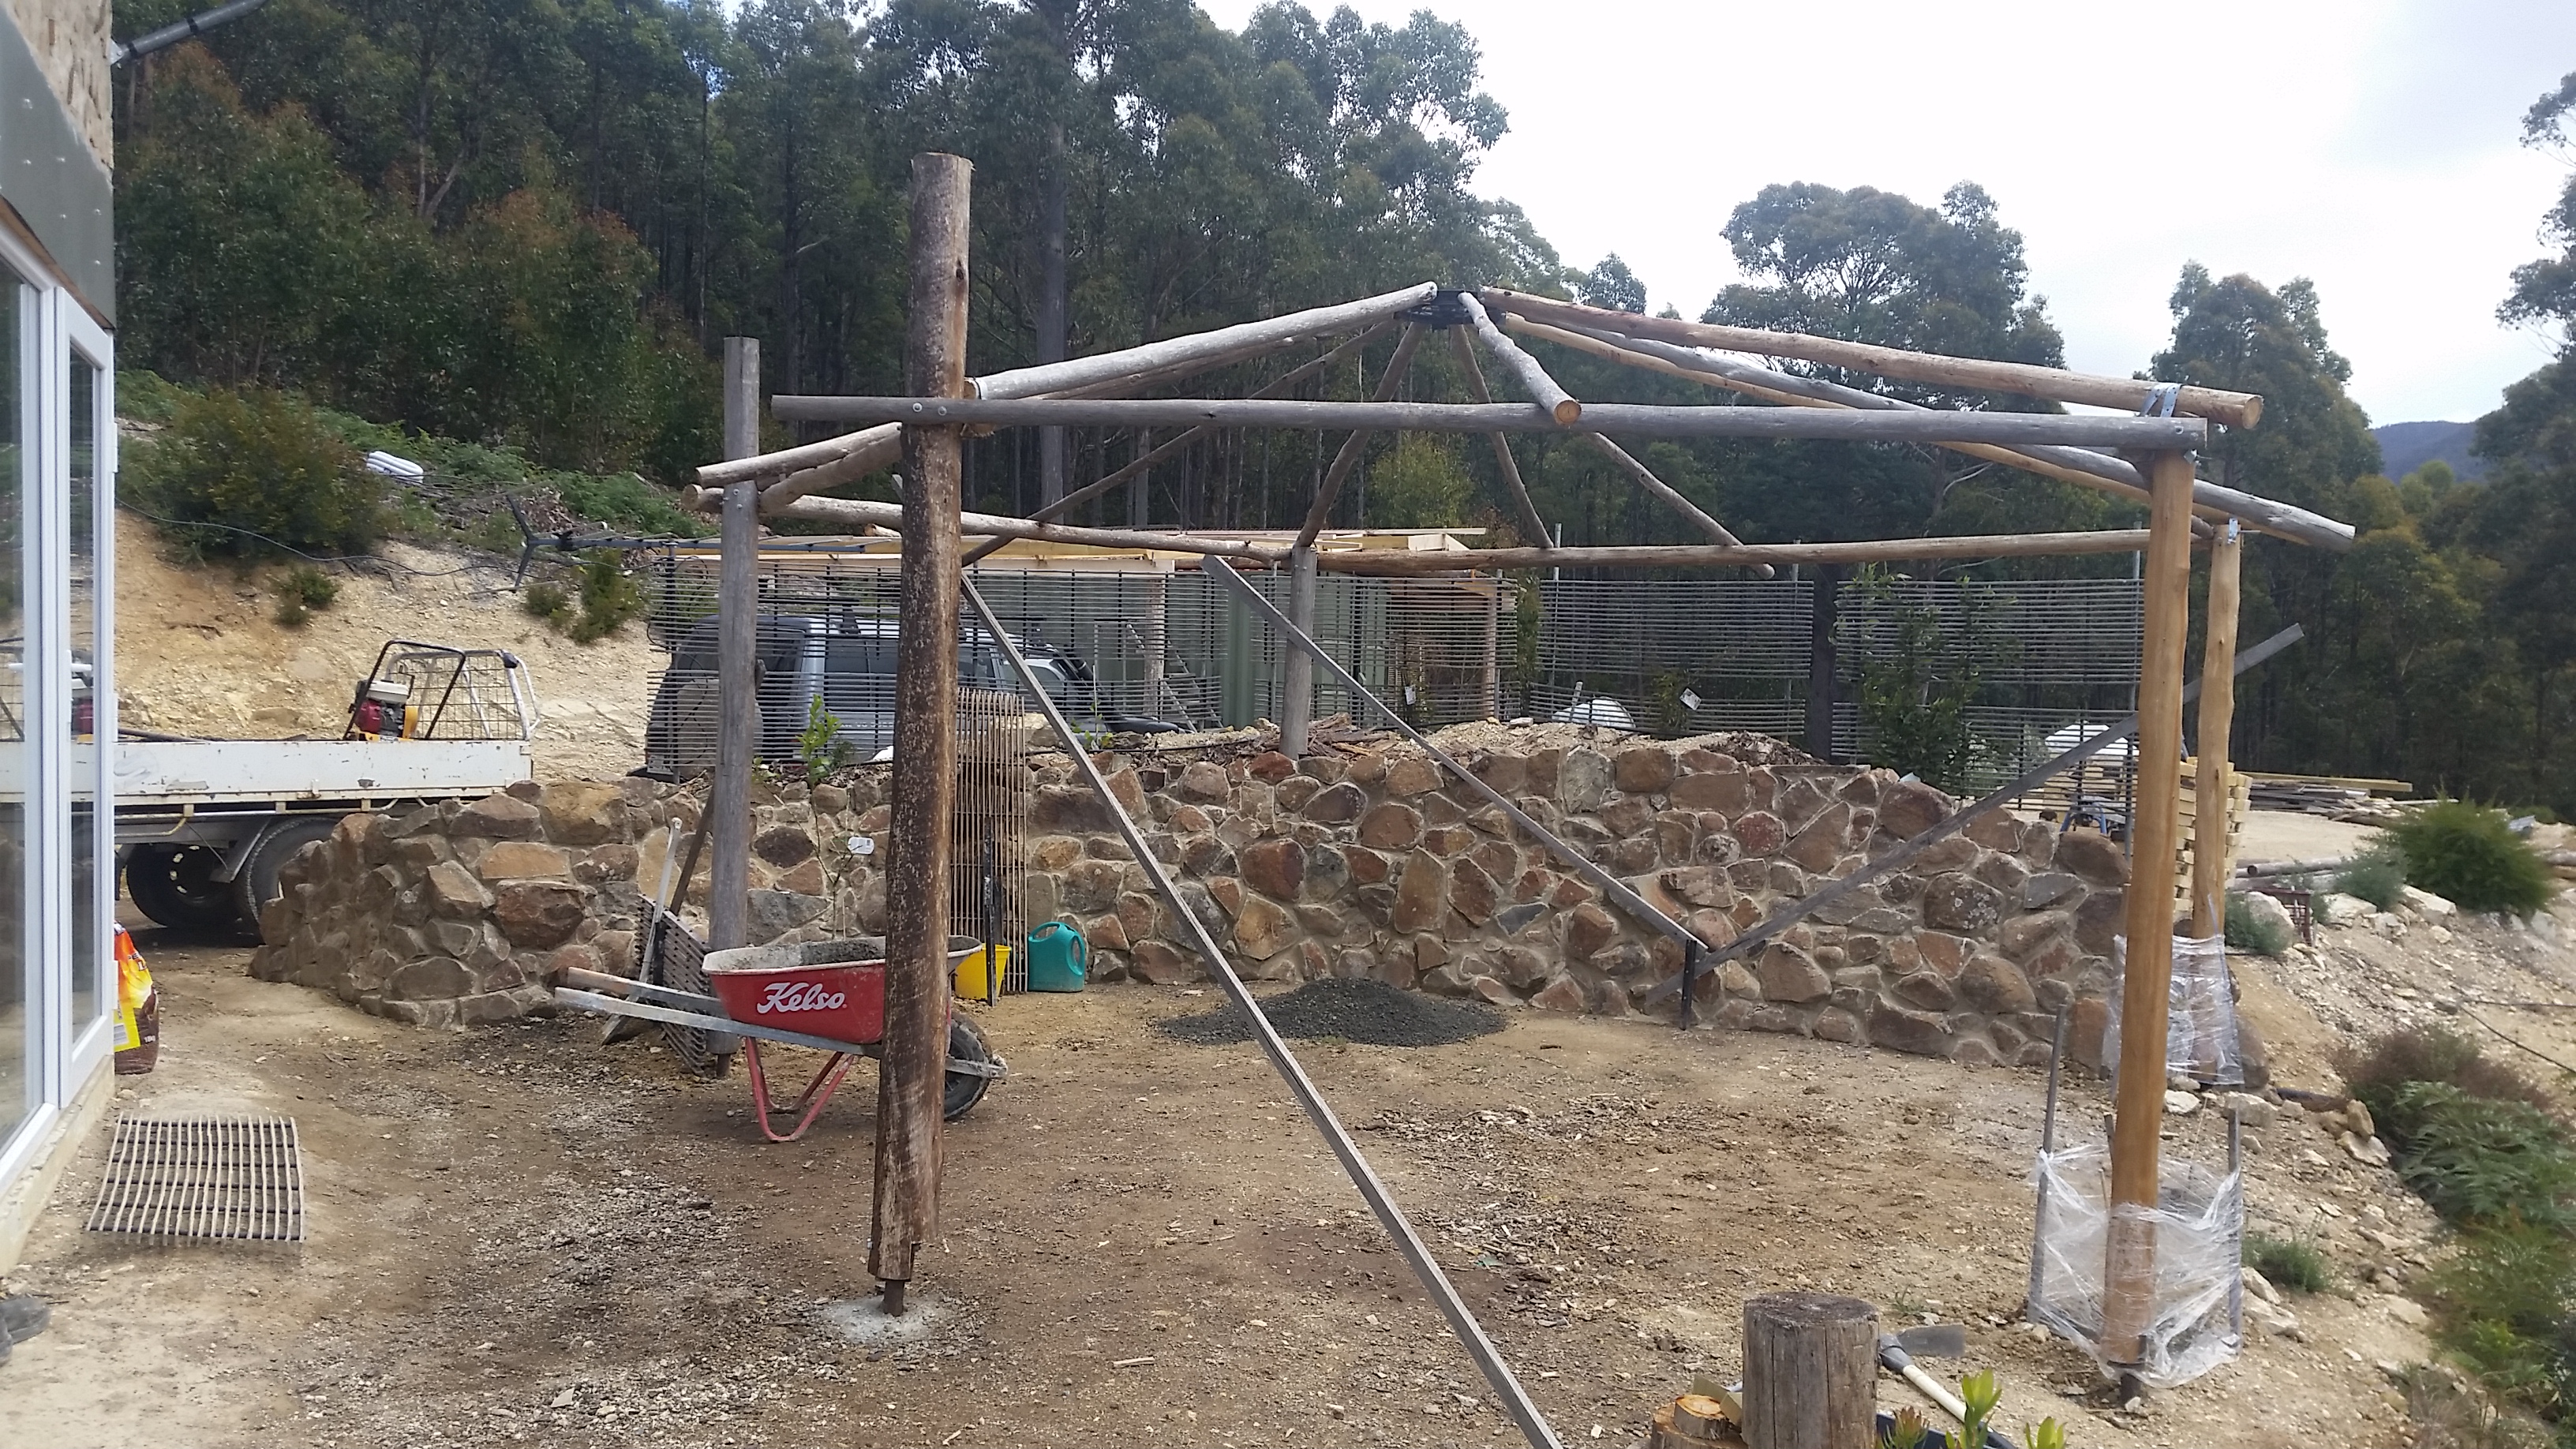
We erected a temporary centre post until all the rafters were attached to the hub.
The removal of the central post was an exciting and daunting moment. Would the roof collapse? Happily, it didn’t budge and was surprisingly solid.
Paving
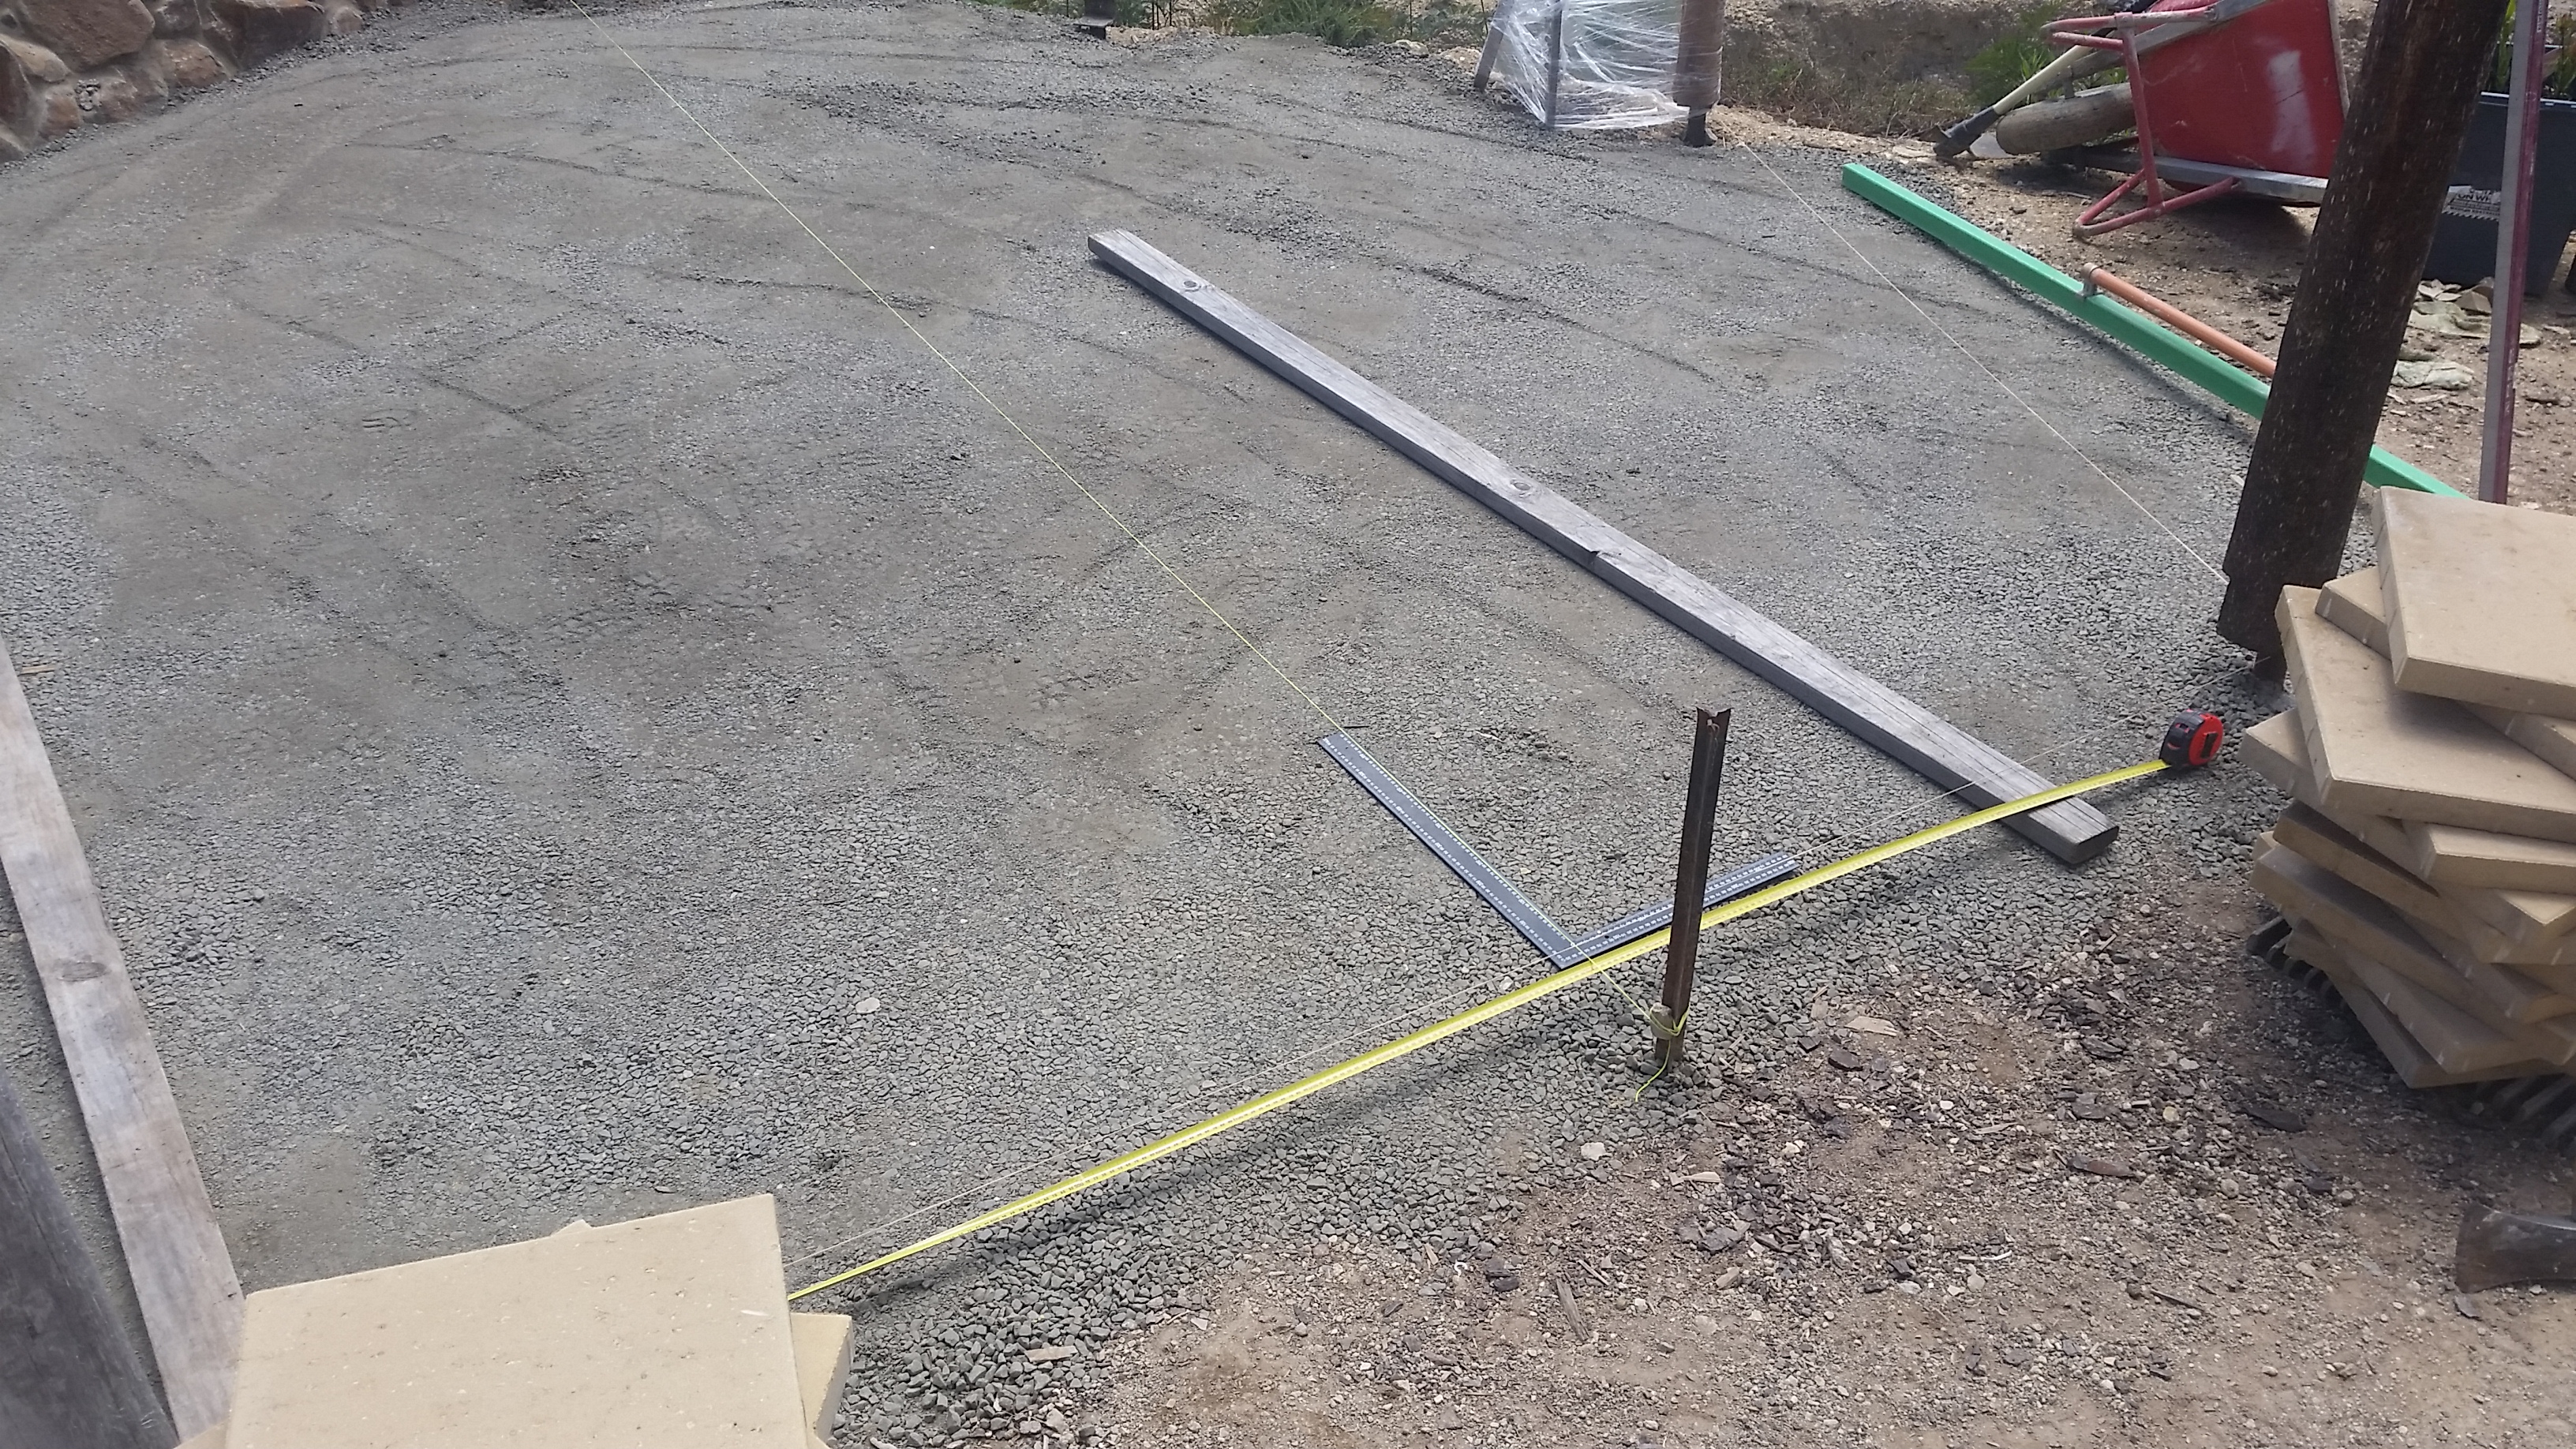
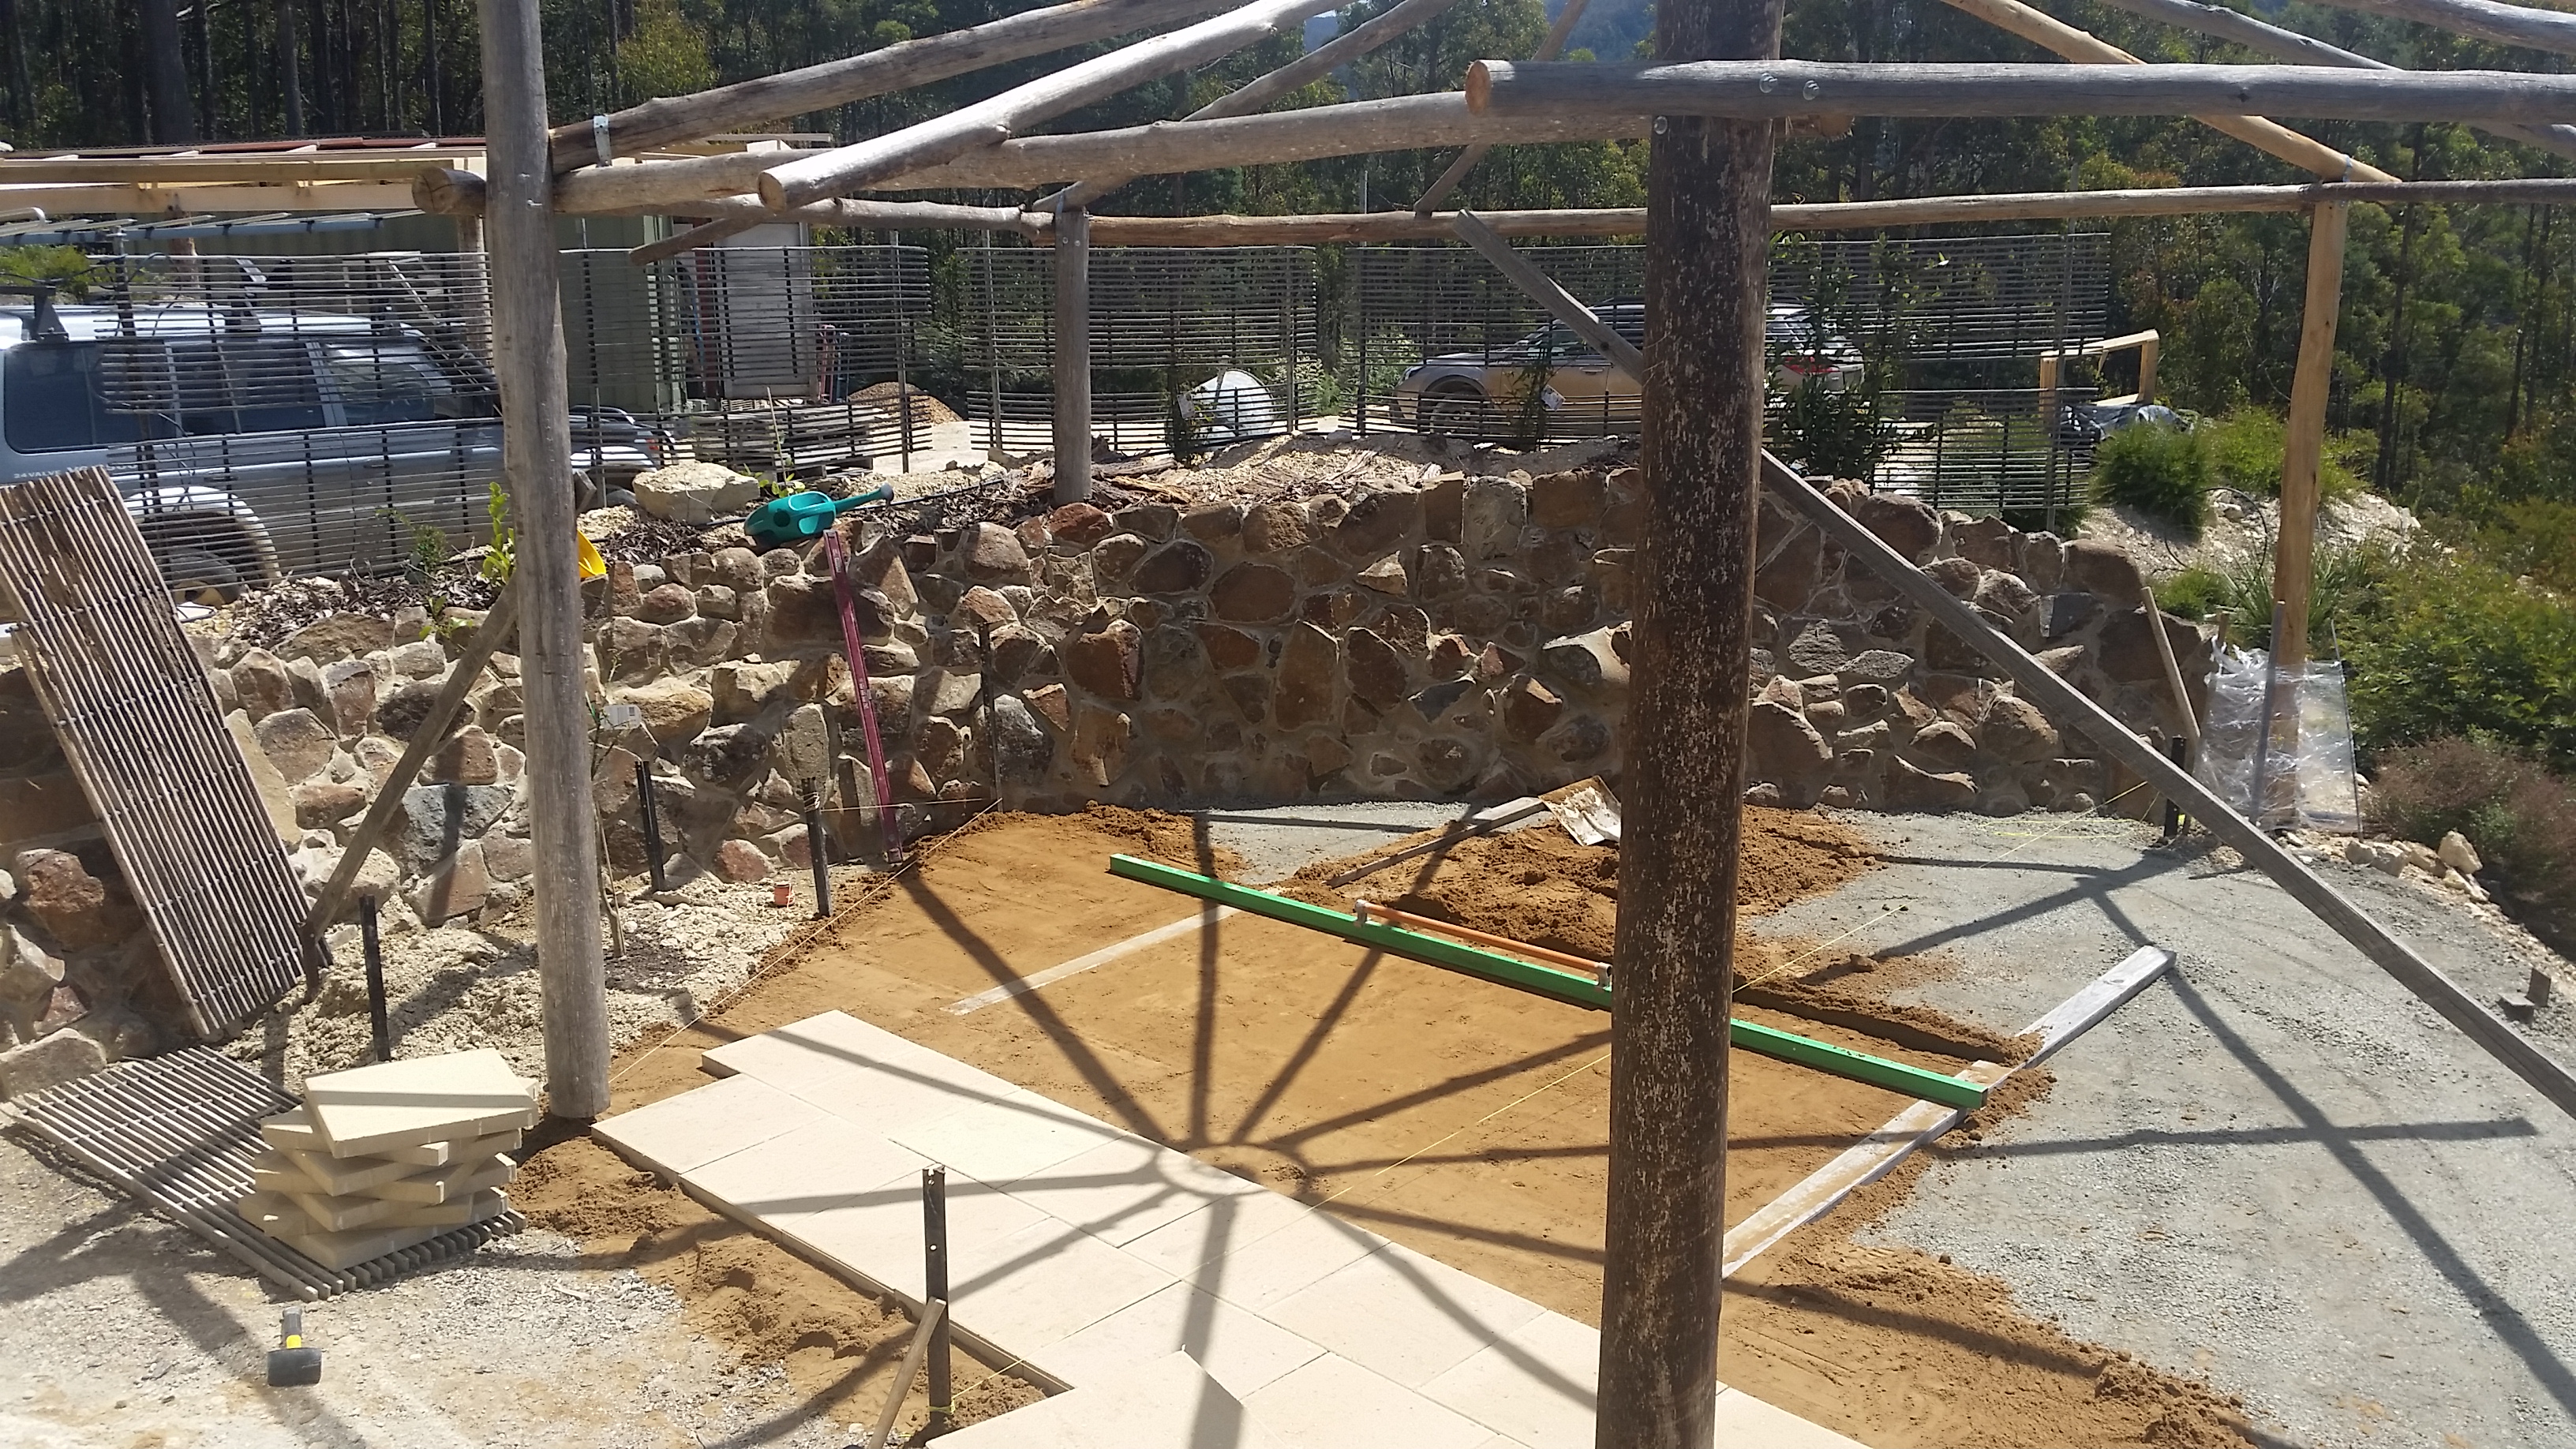
With the frame constructed, we prepared the area for pavers. Peter spent a lot of time on the fiddly business of working out the shape and area of the patio, and we ended up deciding that a pentagon shape would work well with the crescent wall and with the lines of our house. Then we put down crusher dust,
followed by builder’s sand,
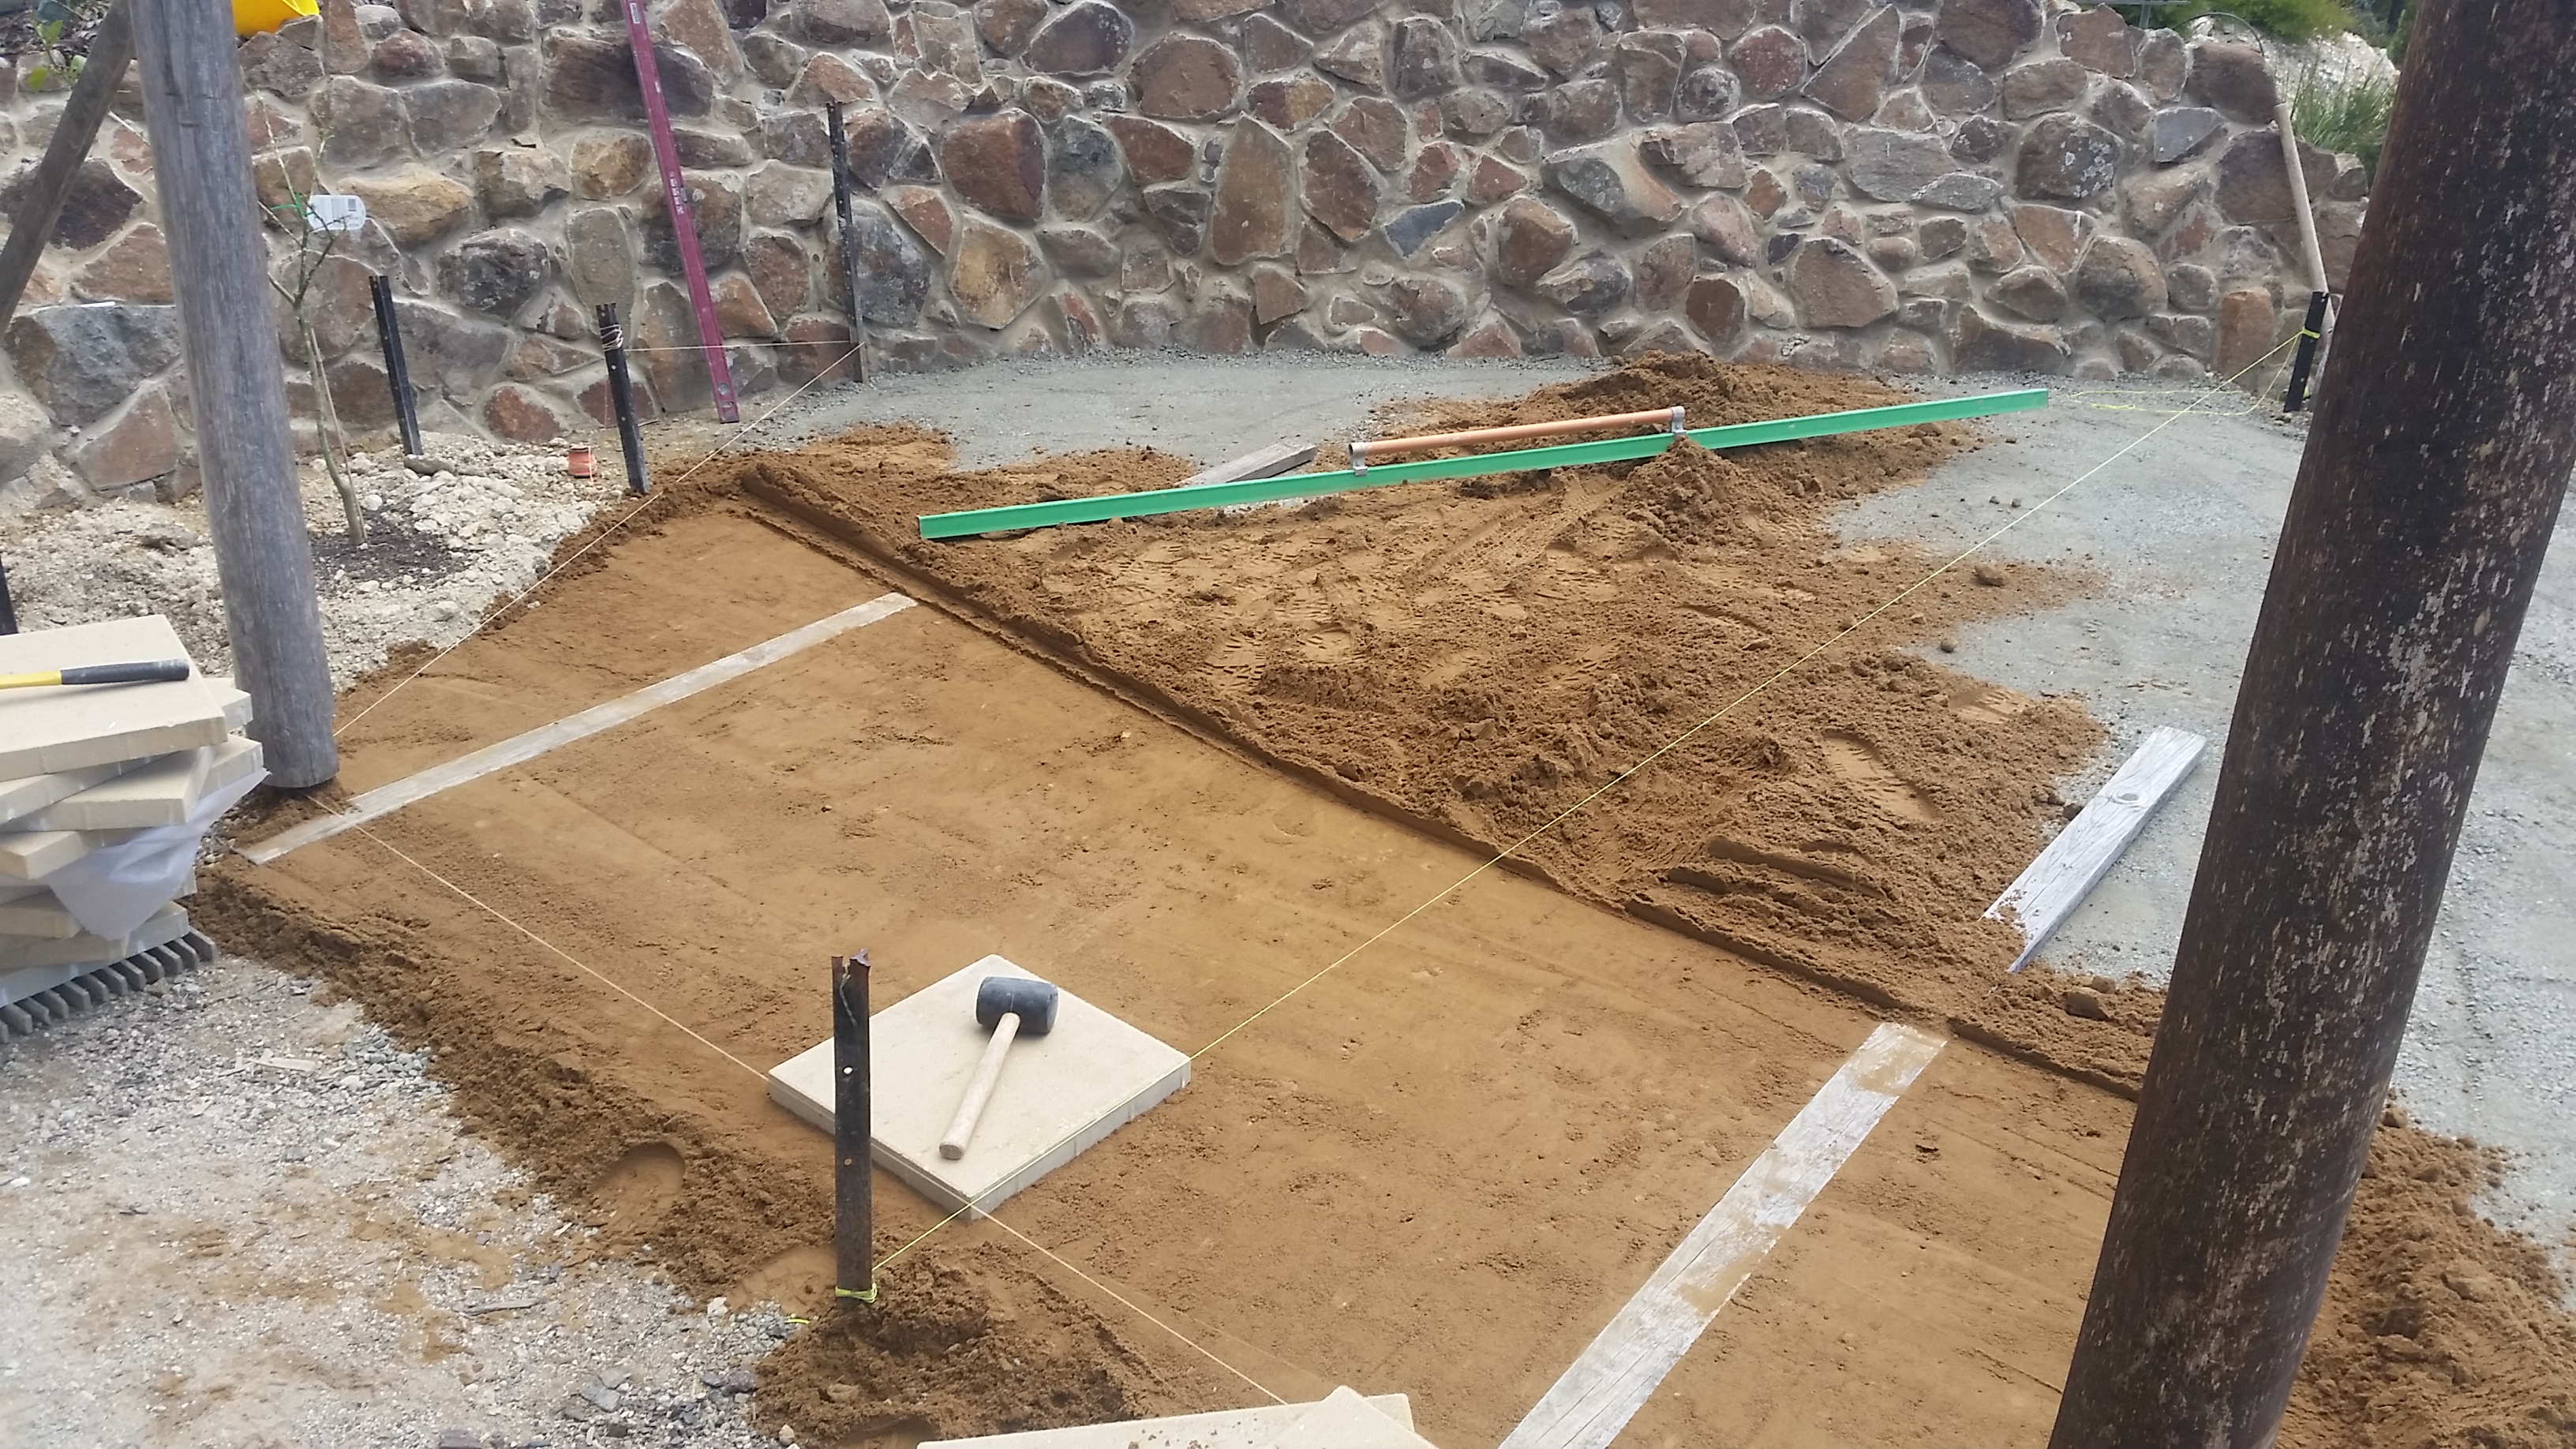
and finally we could begin the paving. Check out the cool shadow of the motorbike wheel hub on the pavers!
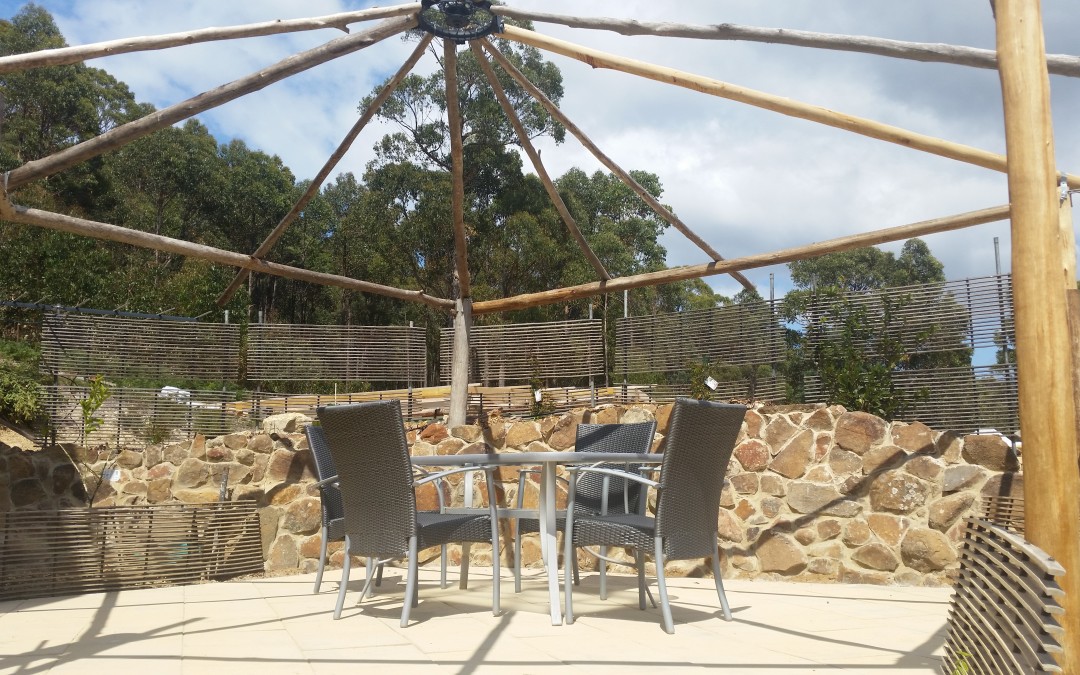
Add a table and chairs, and voila! We had ourselves a very nice area for sitting. (We later added a shade cloth which will stay in place until the wisteria grows.
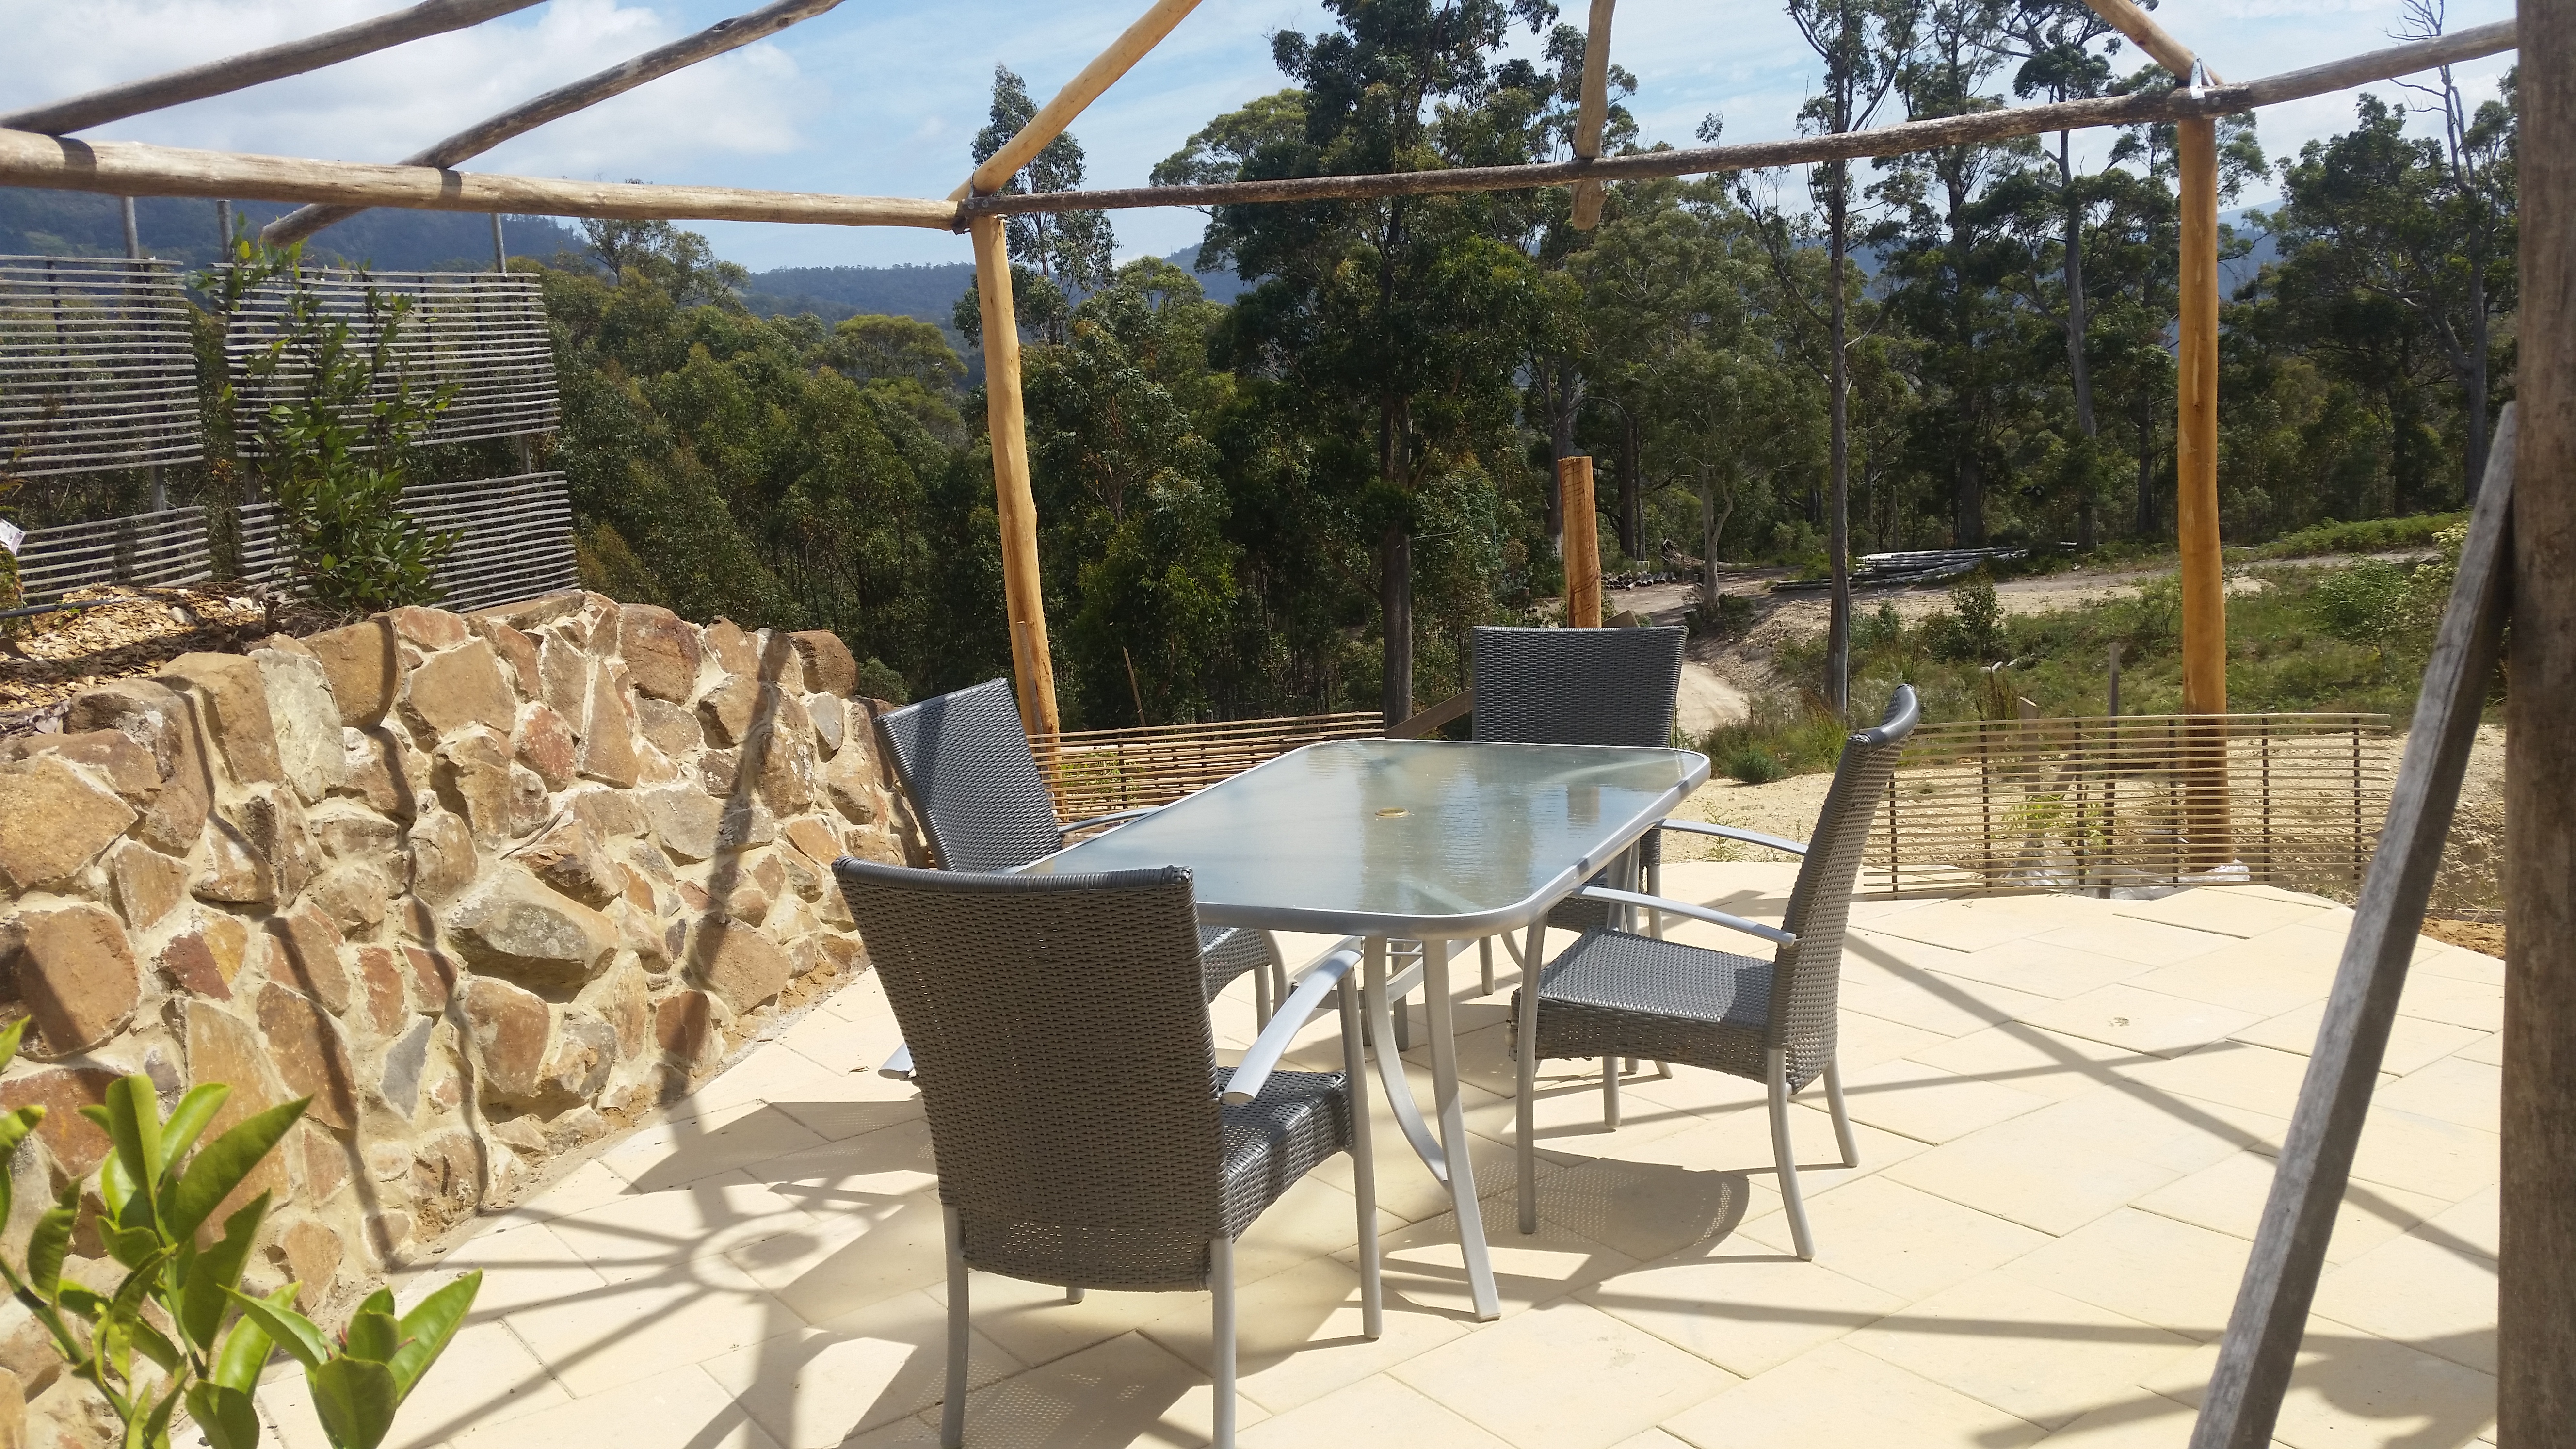
Looks inviting, doesn’t it?
All it needs now is a bowl of grapes and an Adonis.
Recent Comments