Our Incredible No-Power No-Pump Woodfired Hot Tub!!
It’s true. We fat cats have added a FULLY FUNCTIONING AMAZING WOOD-FIRED HOT TUB to our lives of bliss in the wilderness.
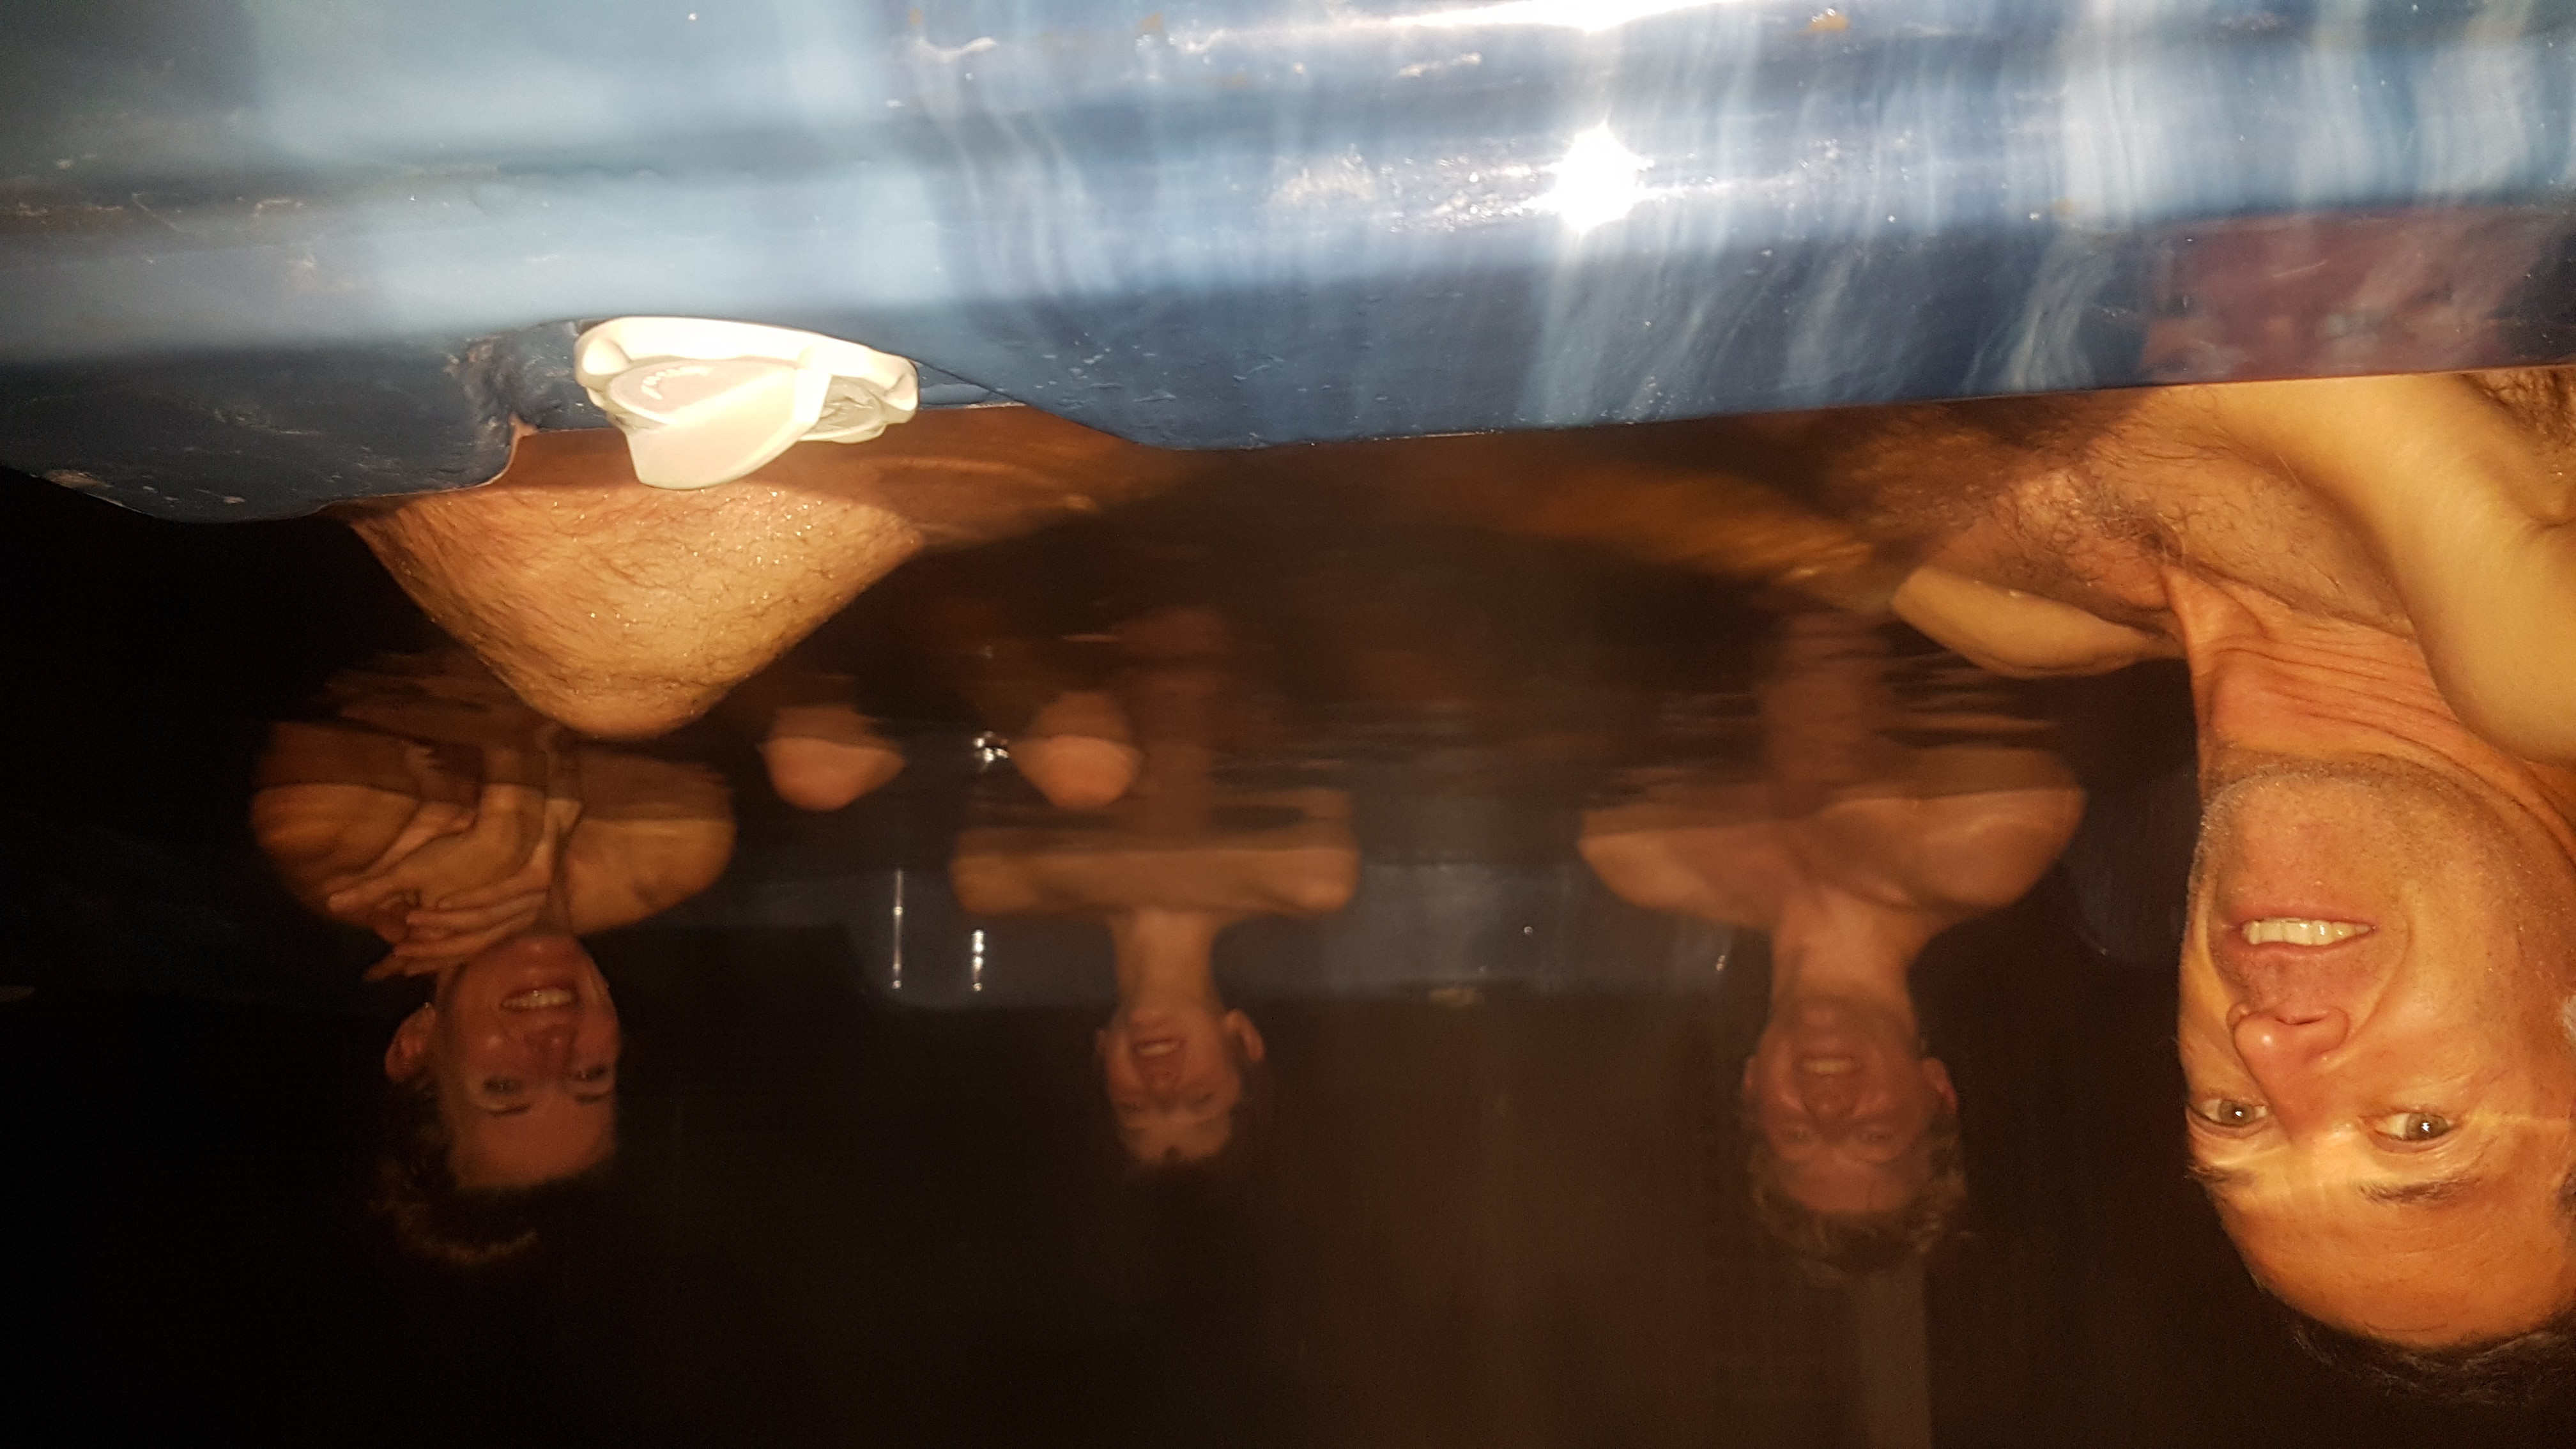
We’ve had the water up to a very toasty 48ºC and have been enjoying many a pleasant frosty evening in the tub, watching the stars and listening to the frogs when we would usually be rugged up indoors in front of a fire. After years of living a fairly unconventional life on a rural block with no power or services, it is strange and wonderful to own something as luxurious as a hot tub.
Building a woodfired hot tub was very much a trial and error process. For details of what that entailed- PLUS a photo of me in a bikini- click these links here and here and enjoy a laugh at our expense. If you are planning on trying to build your own hot tub, these pages should steer you away from some possible mistakes.
Here is the abridged version of our method.
1. Purchase a container to use as a hot tub.
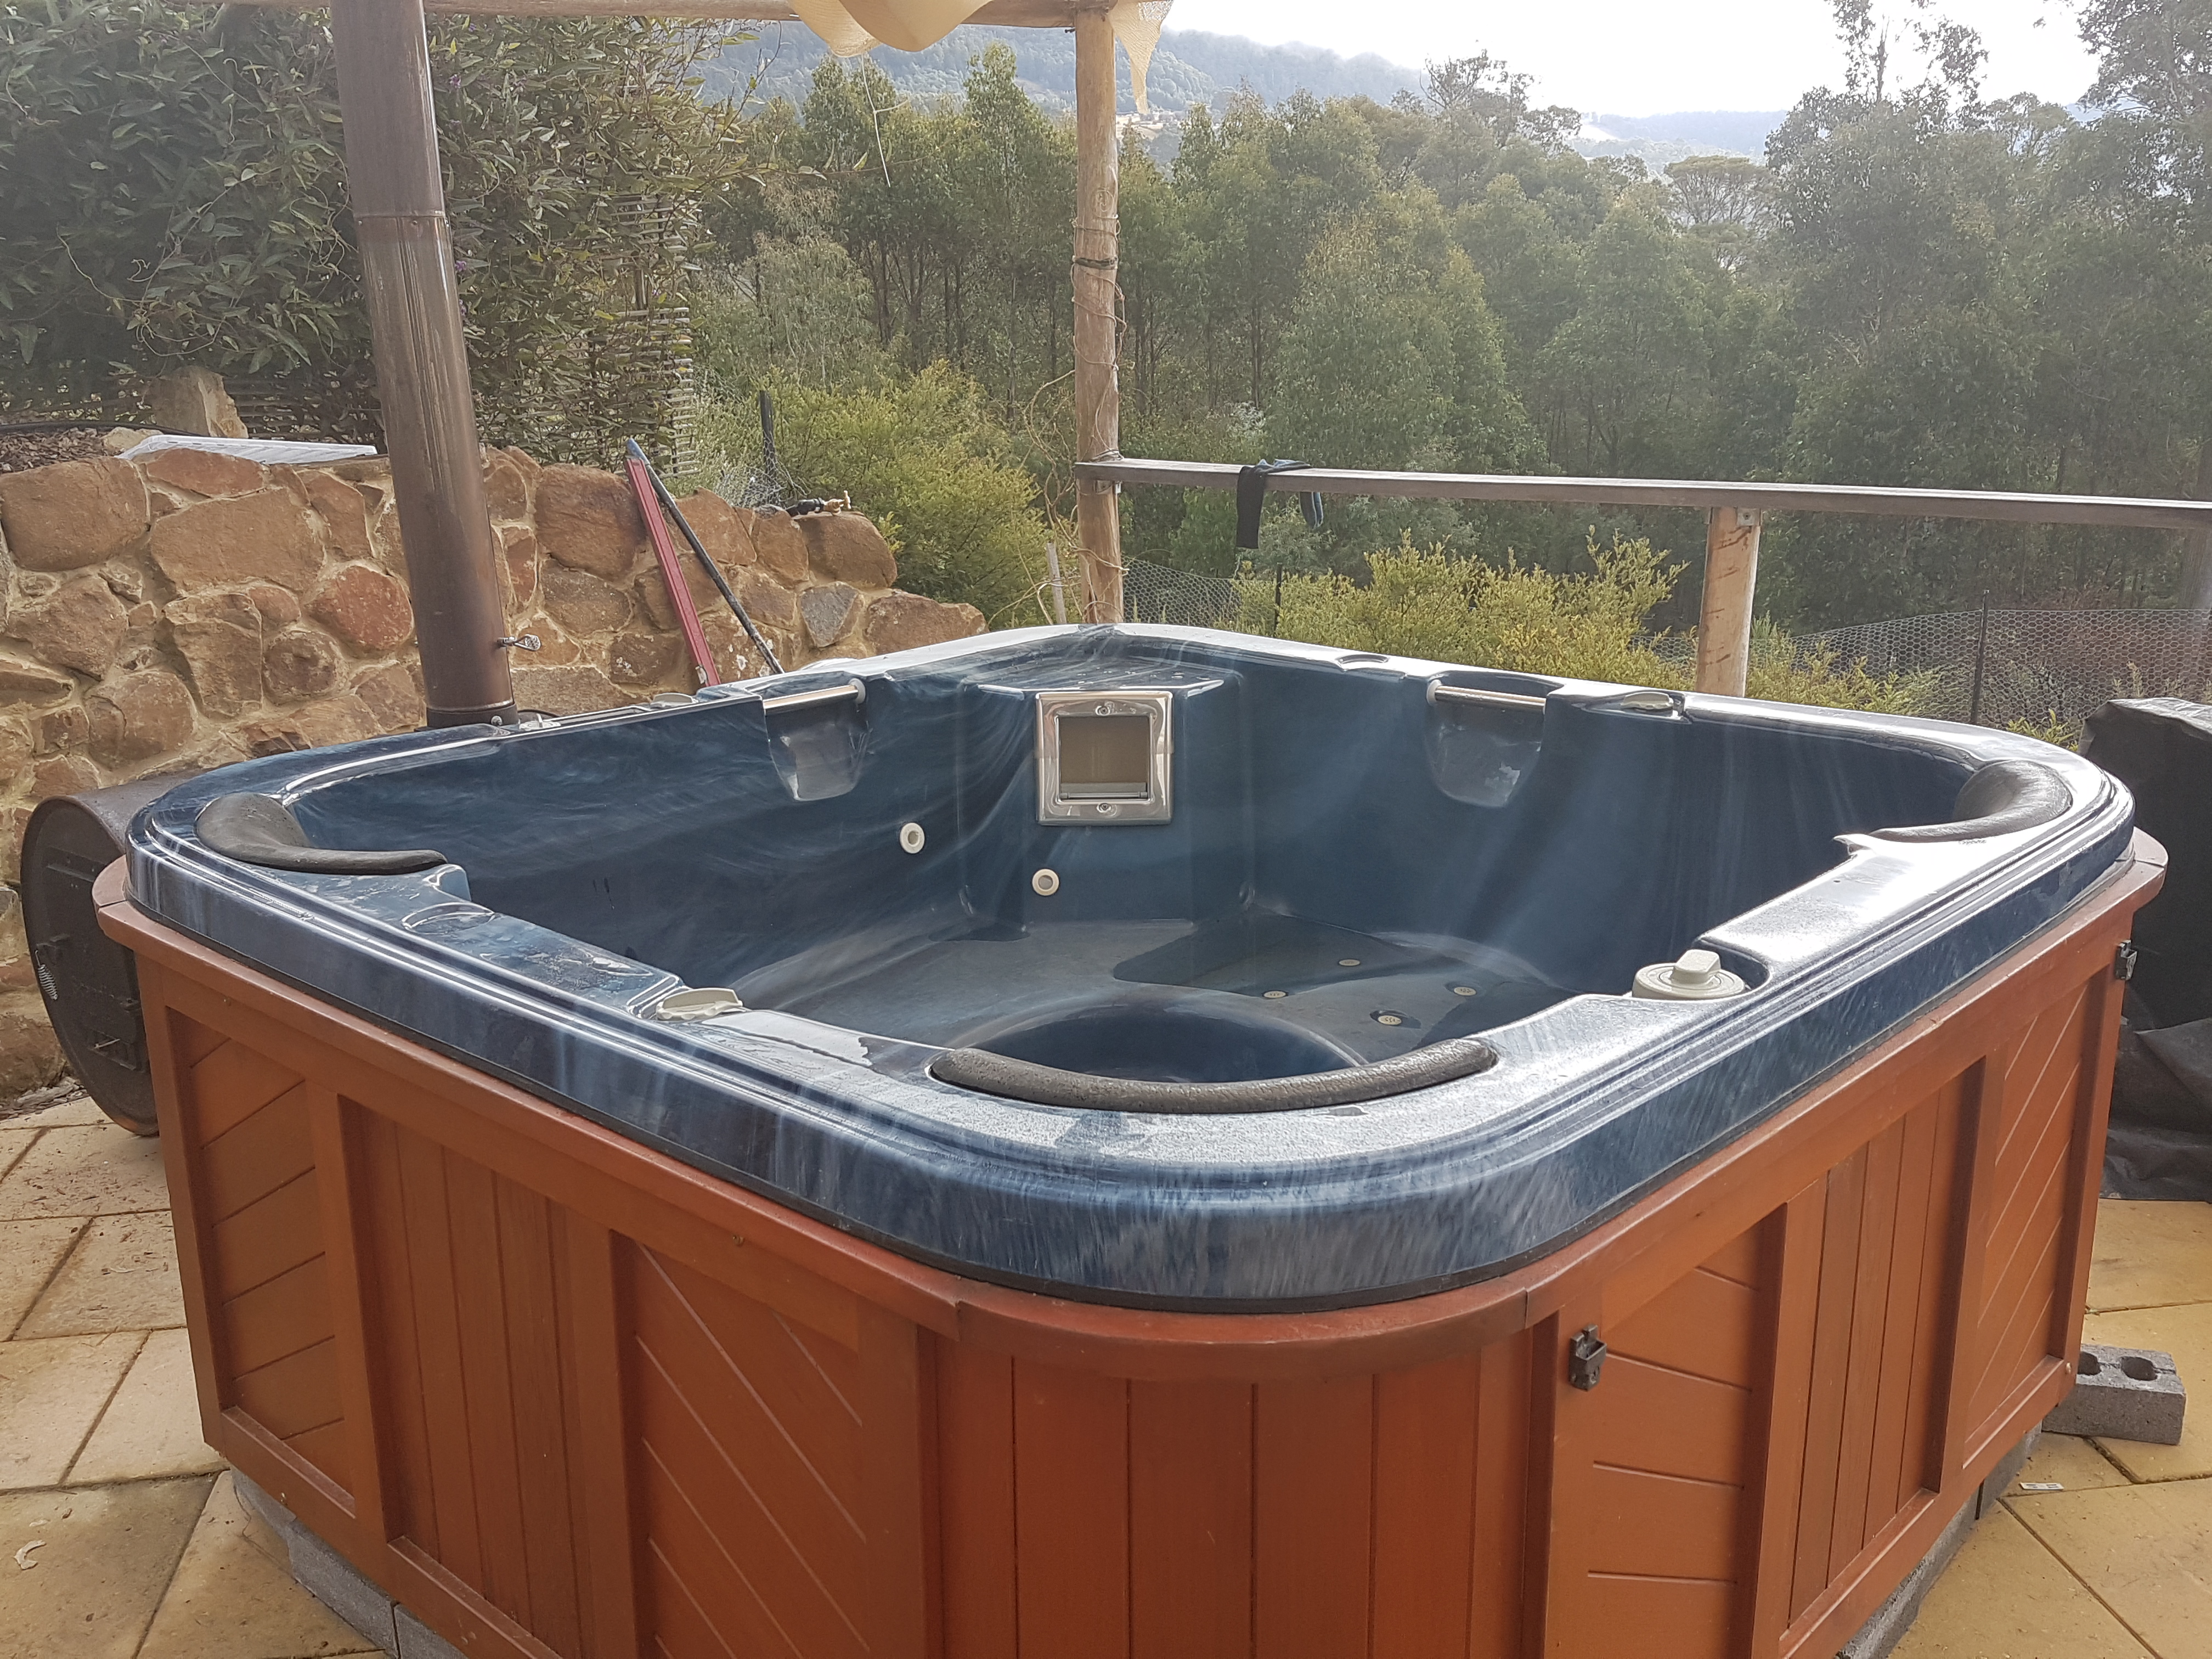
Many people go for the corrugated iron stock watering tank, but while this makes for a nice rustic container, we went ahead and bought a secondhand jacuzzi for the following reasons:
- A stock watering tank requires more water to fill, and water is a precious resource on our property. We wanted to avoid chemicals in the hot tub, using it more like a Japanese onsen, which would mean regular emptying and refilling. The moulded seats of a jacuzzi allow us to use far less water than needed to fill a watering tank of a comparable size.
- Secondhand jacuzzis are readily available and can be very cheap, even free if you organise its removal from a property.
- Jacuzzis often come with other useful accessories, like a cover. For best efficiency YOU MUST HAVE AN INSULATED COVER!
- The seats are already in the jacuzzi. With a watering tank, you will need to add seats (people use common moulded plastic garden seats). The seats in a jacuzzi are REALLY COMFORTABLE.
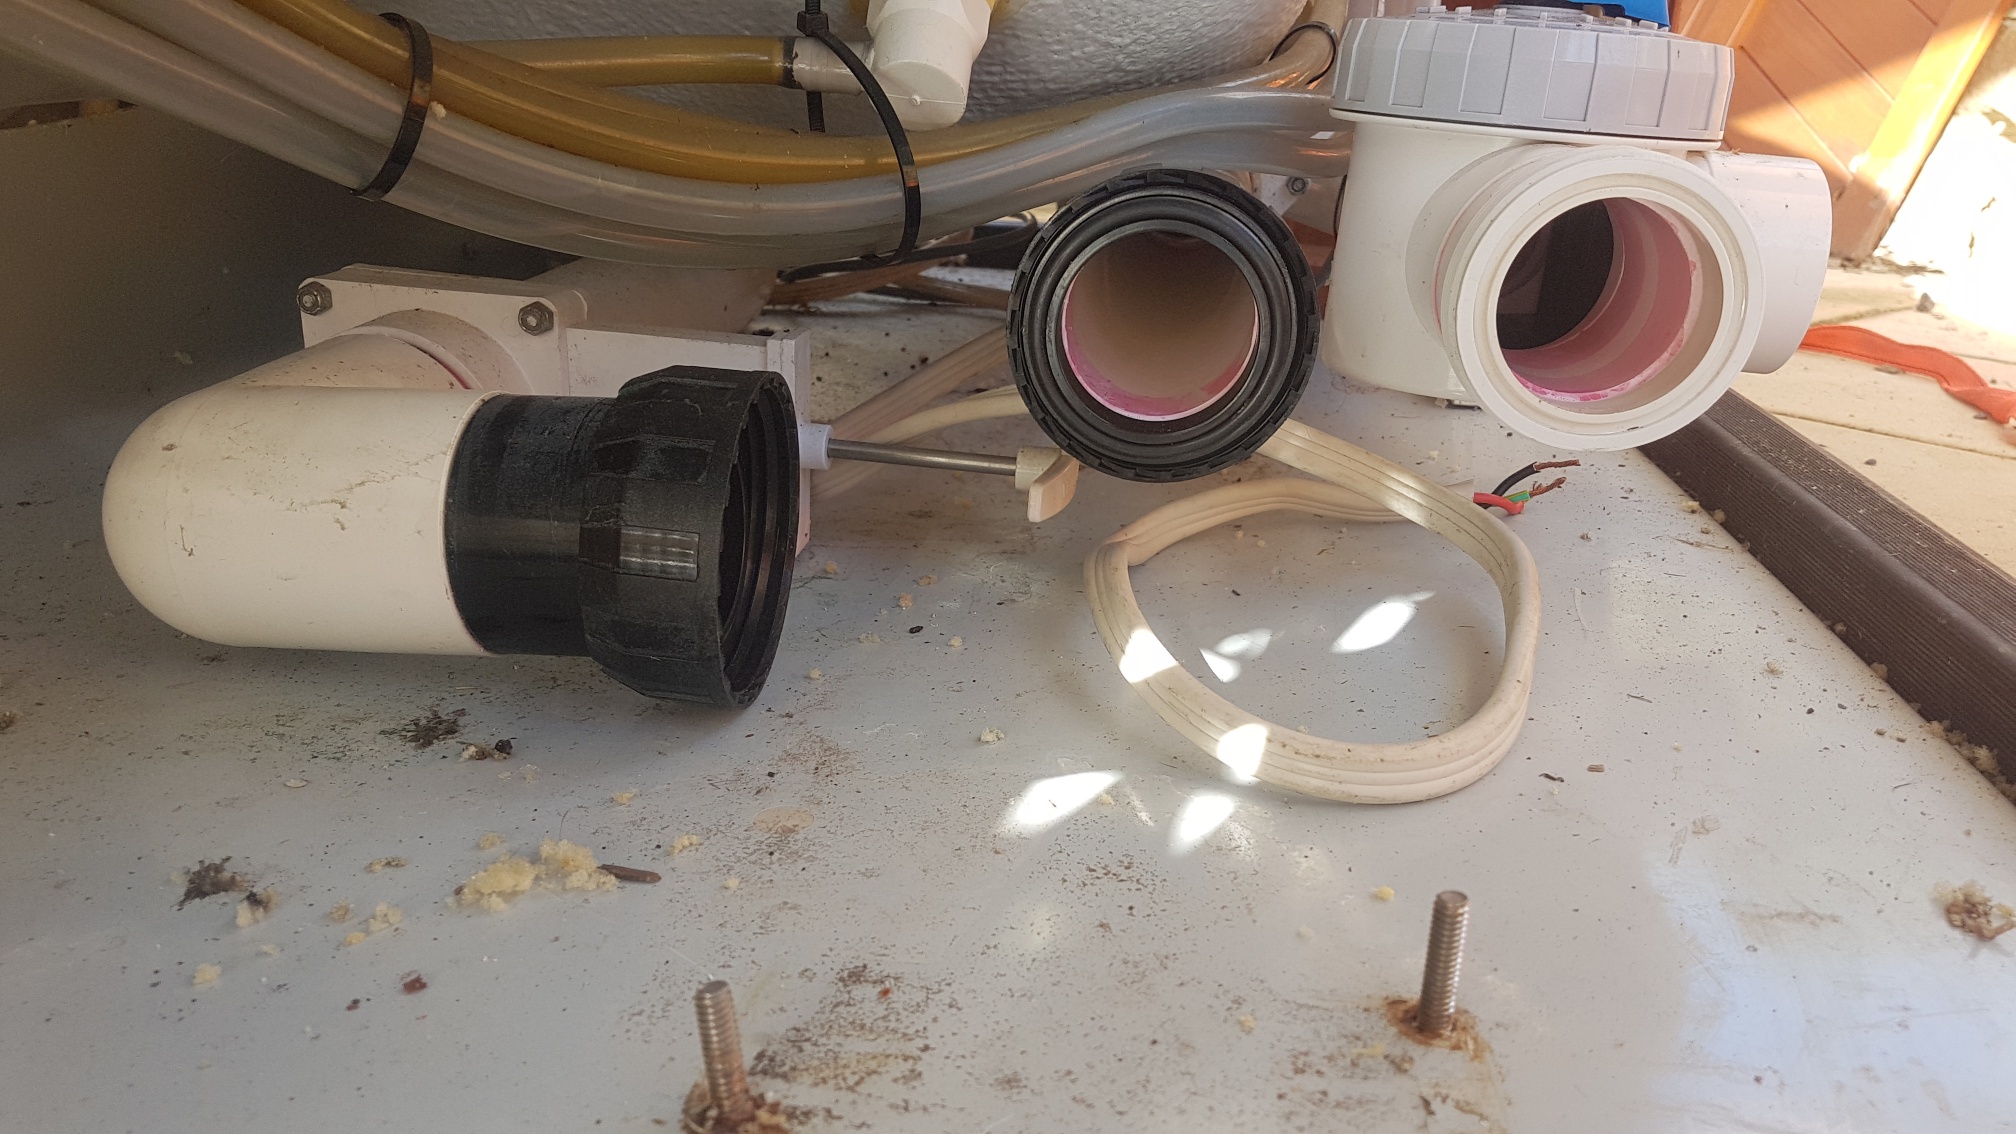
2. Fit caps onto all jacuzzi pipes outlets, turning the jacuzzi into a basic tub.
We don’t use a jacuzzi pump- we didn’t want to rely on electricity in any way- so those pipes are unnecessary and can be blocked up. We also don’t use a filter, since we empty and refill as needed, so those pipes were capped as well.
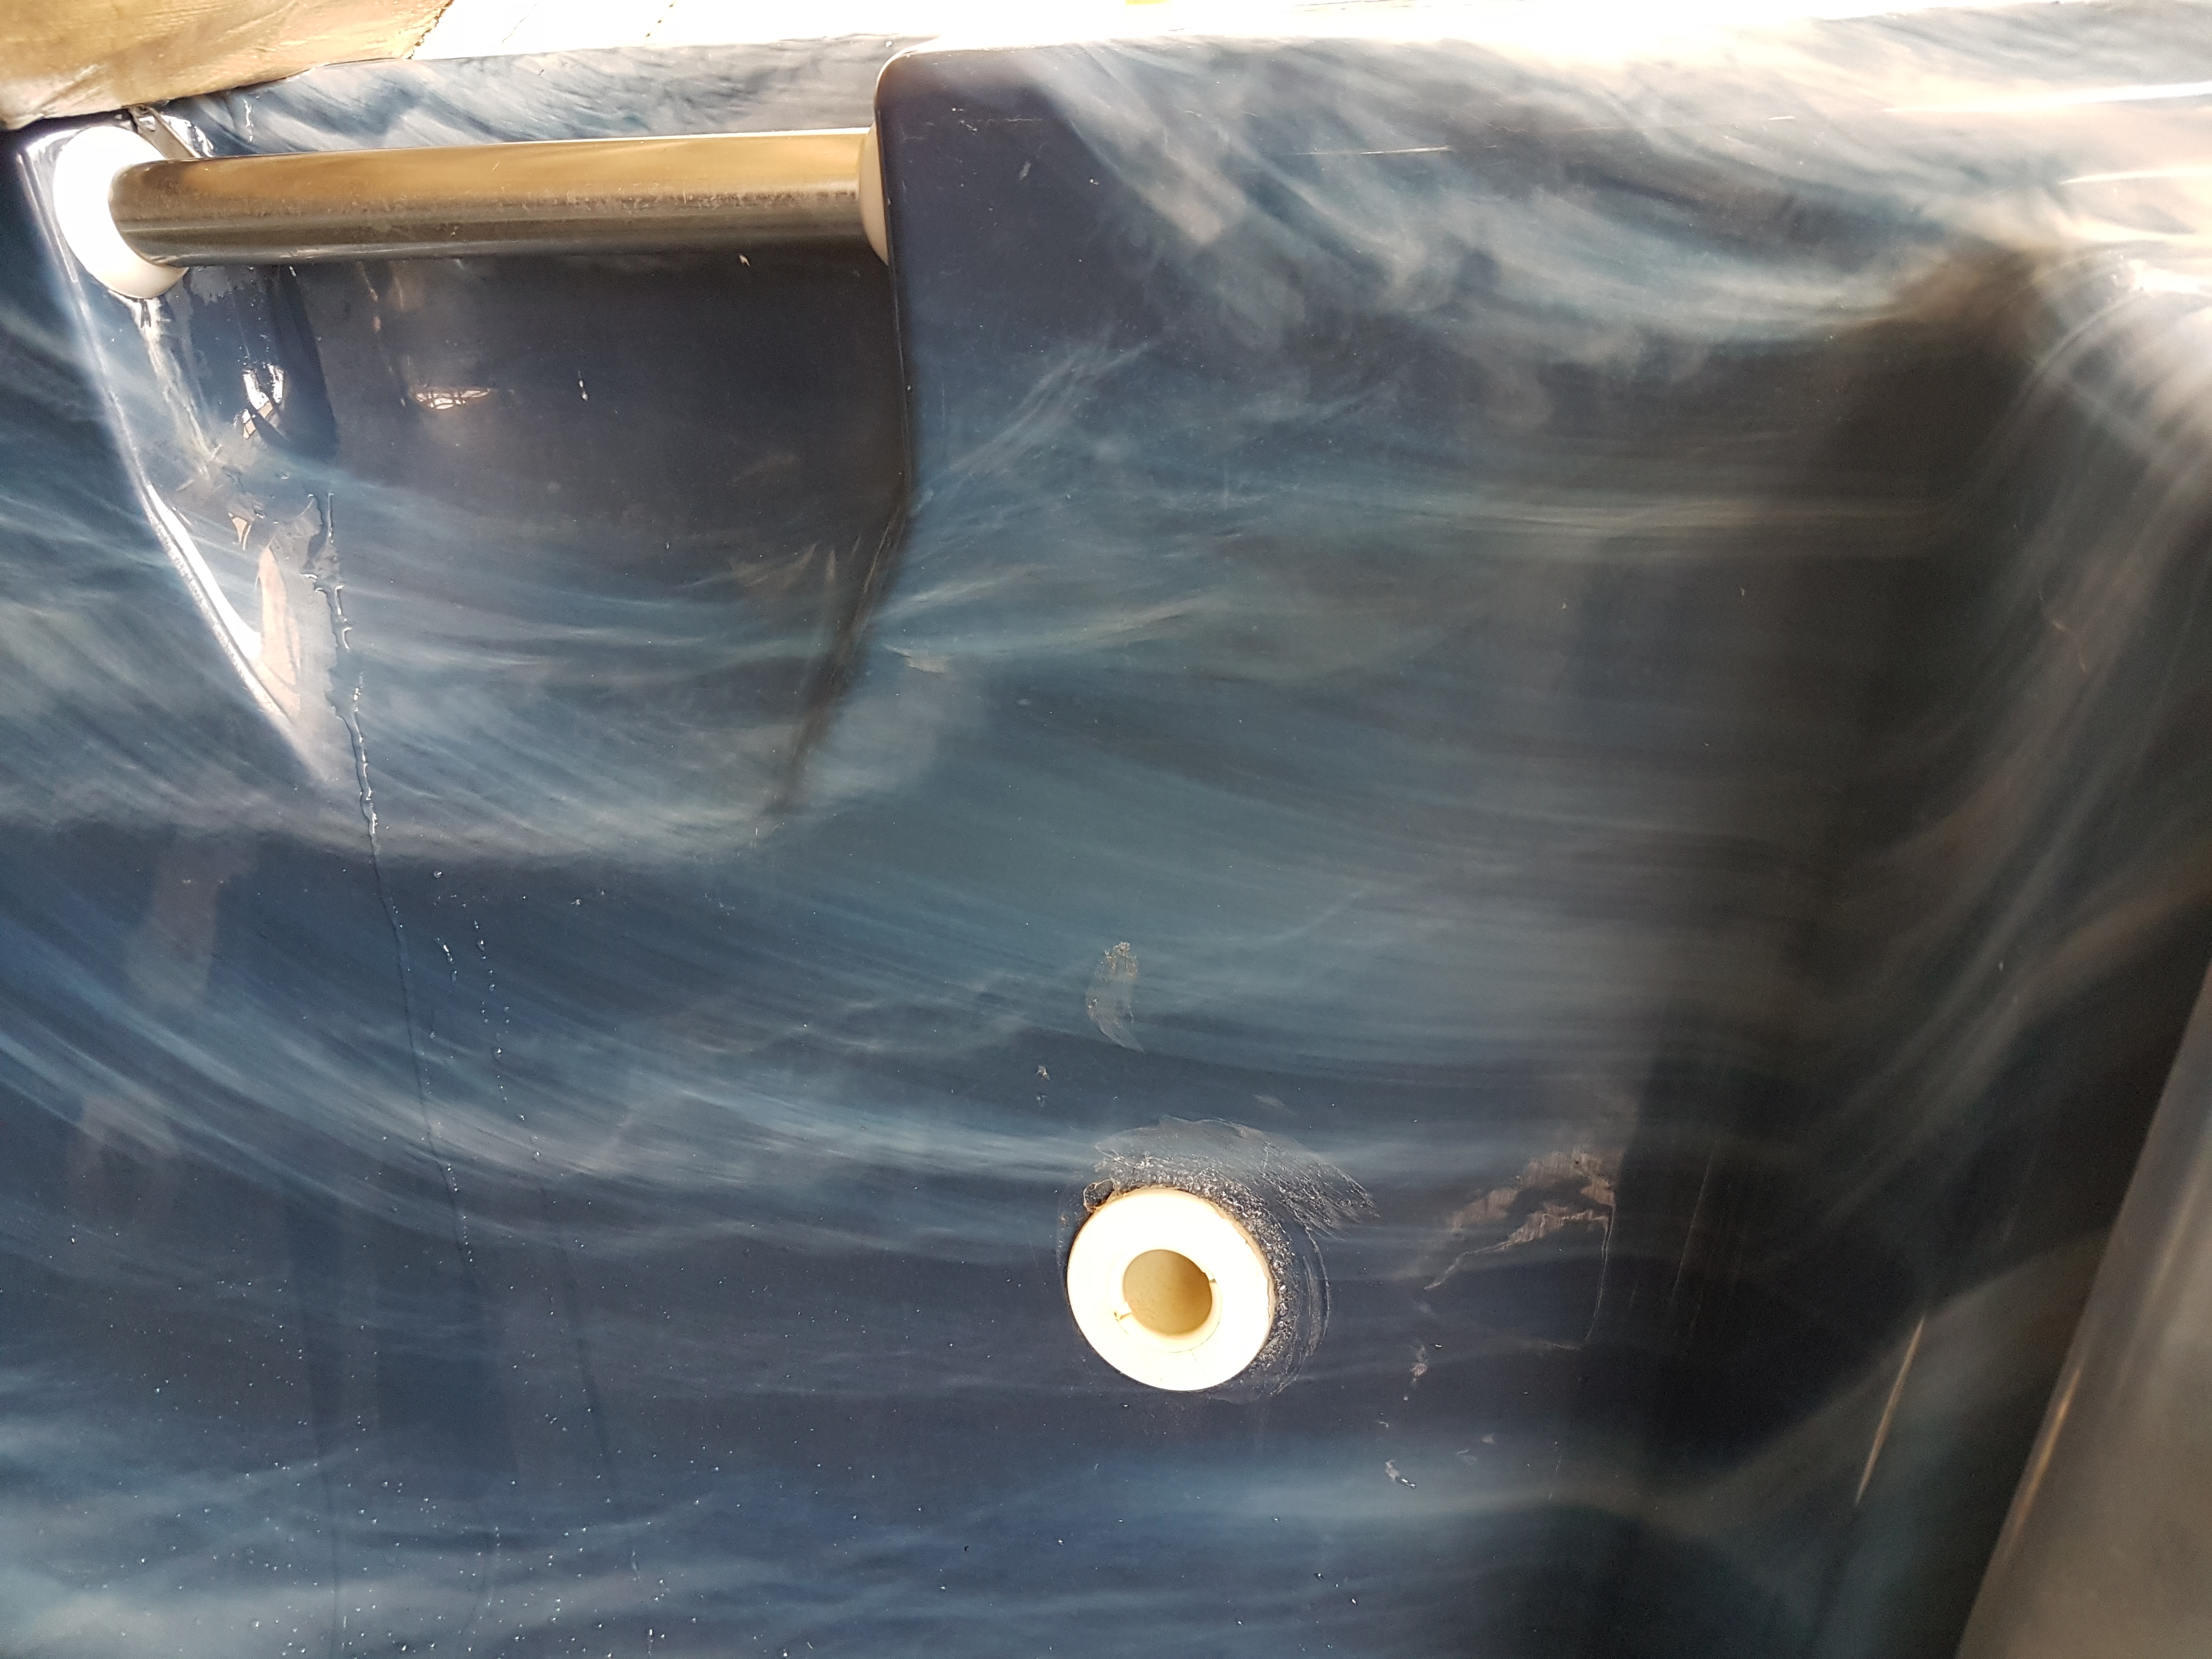
3. Create two inlets in the jacuzzi shell at different heights.
These inlets are for the water to travel to and from the heating source. We do not use a pump to circulate the water; we rely on a thermosiphon effect. Water from the tub travels to the wood heater; as the water heats, it rises. We make use of this phenomenon as the sole means of moving and heating the water without any pumps or power. To achieve a thermosiphon effect, one hole in the tub (the outlet) needs to be as low in the side of the fibreglass shell as possible. The other (the inlet) needs to be high up in the shell, but still safely below the top of the water level. REMEMBER: The heating component of the woodfired hot tub must remain full of water at all times or it will burn out.
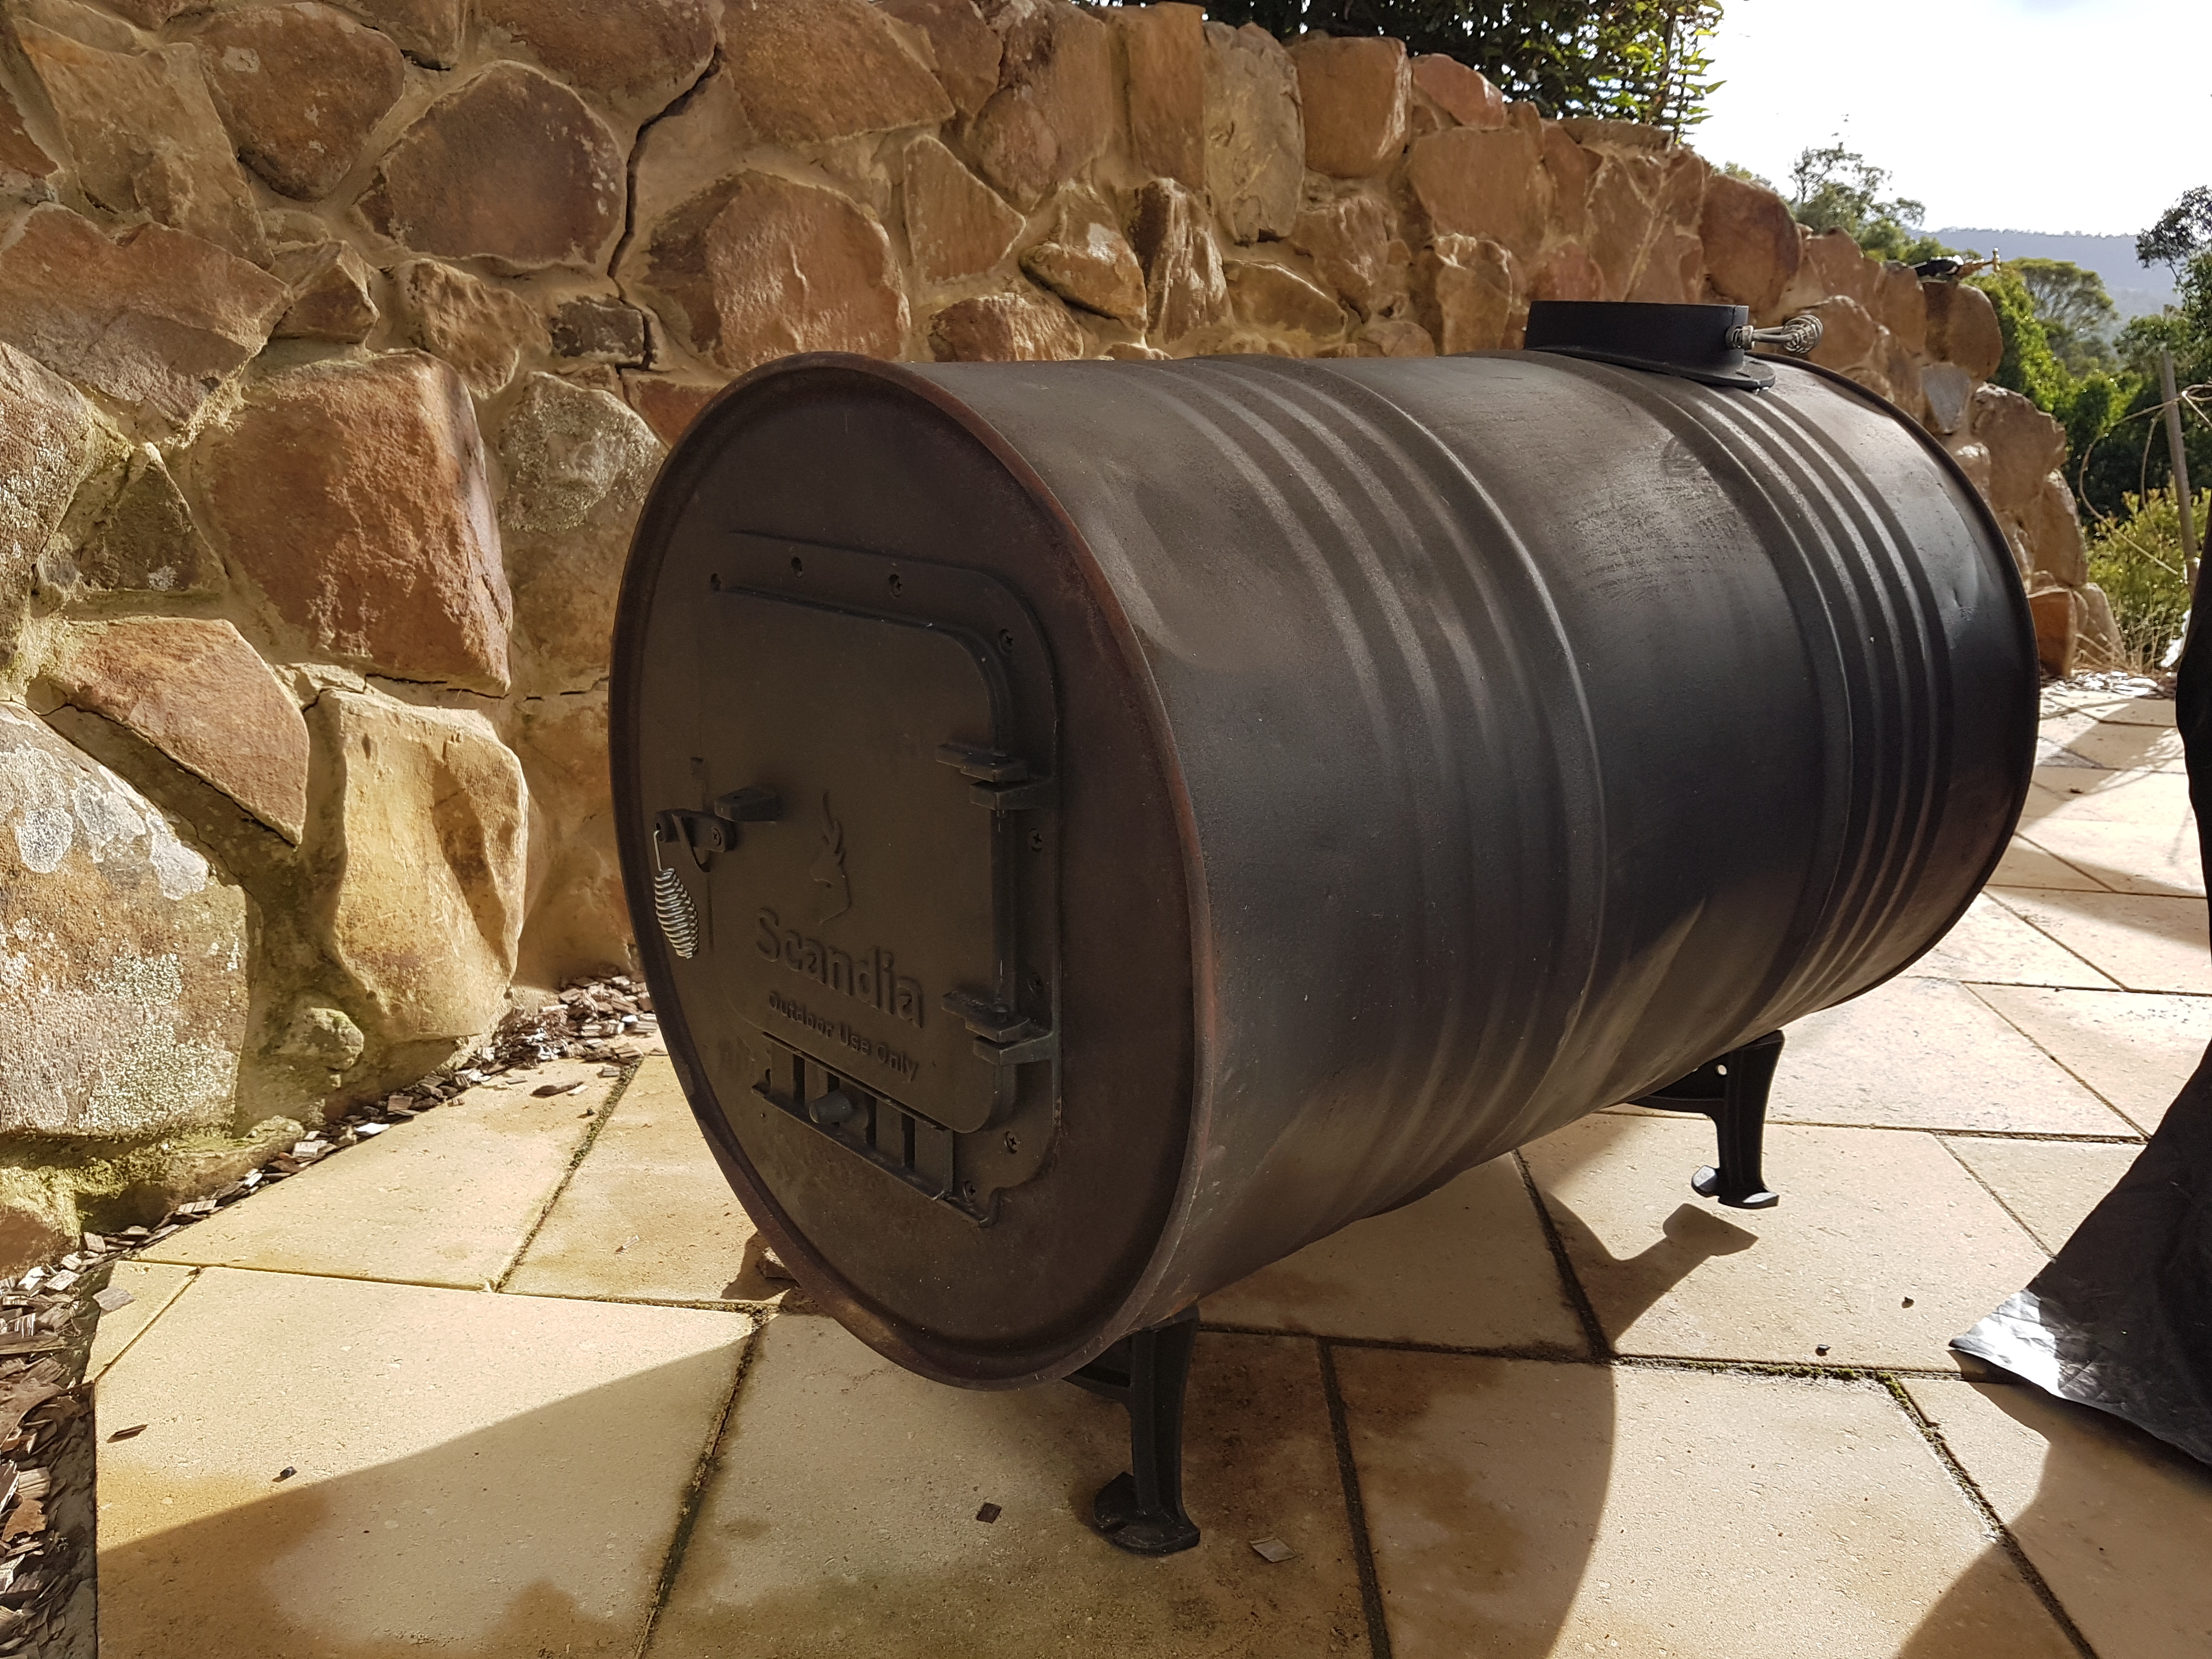
4. Build/Convert/Prepare the Woodfired Heat Source
We took a 44 gallon drum and used a barrel stove kit to convert it into a nifty wood heater. We bought the kit at Bunnings Warehouse; it contains a wood heater door, a collar for a flue, and legs for the barrel. Flue kits are also available from Bunnings and wood heater stores, but we buy lengths of flue whenever we see them at recycling and tip stores.
We tried a few different methods to create the heat exchanger (which you can read about in the links above), but the one which ended up being successful was the copper coil method. We purchased an 18-metre roll of 3/4″ annealed copper pipe, coiled it into a spiral, and fit as much of the pipe as we could into the barrel stove while still having room for a fire.
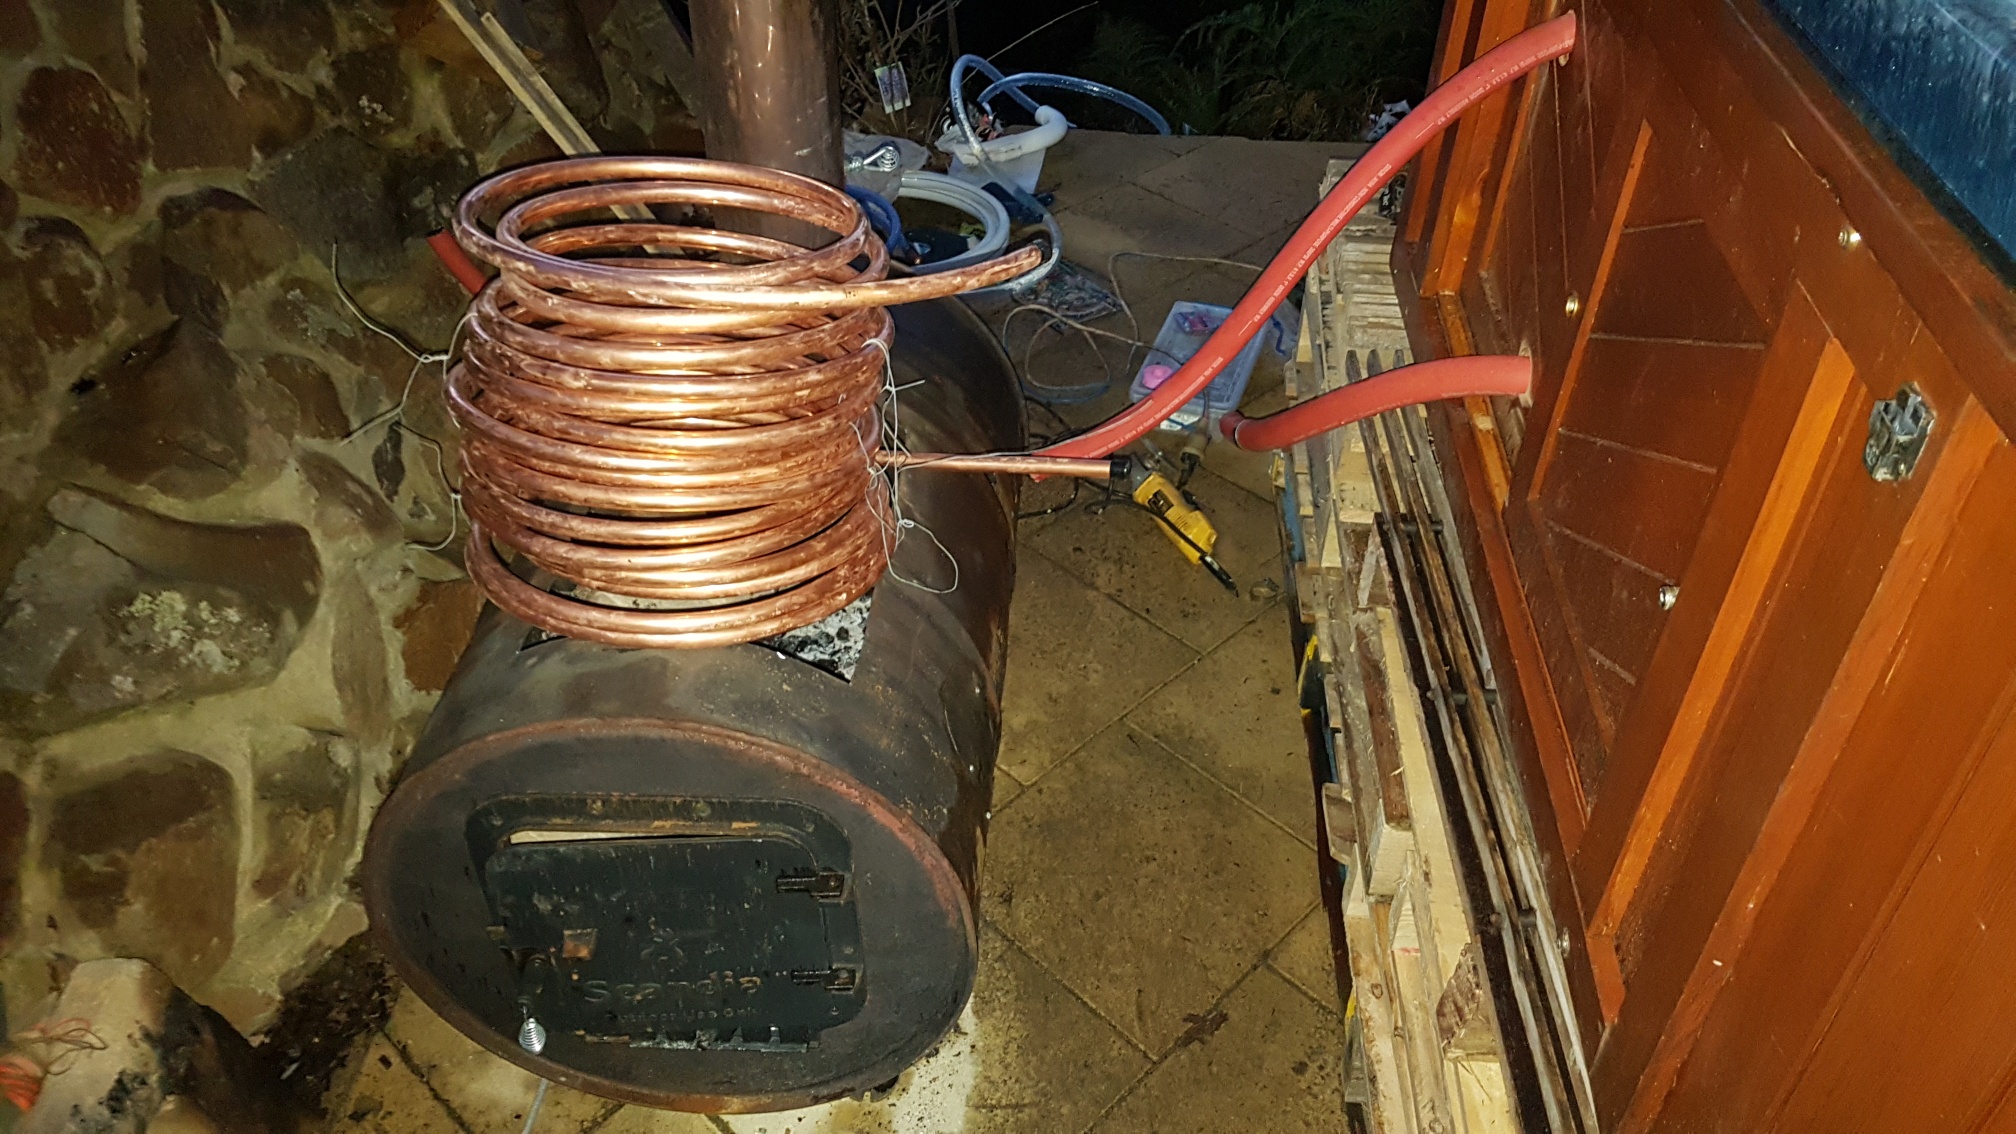

Then we drilled two holes in the barrel stove to fit the ends of the spiralled copper pipe- one low down, the other much higher.
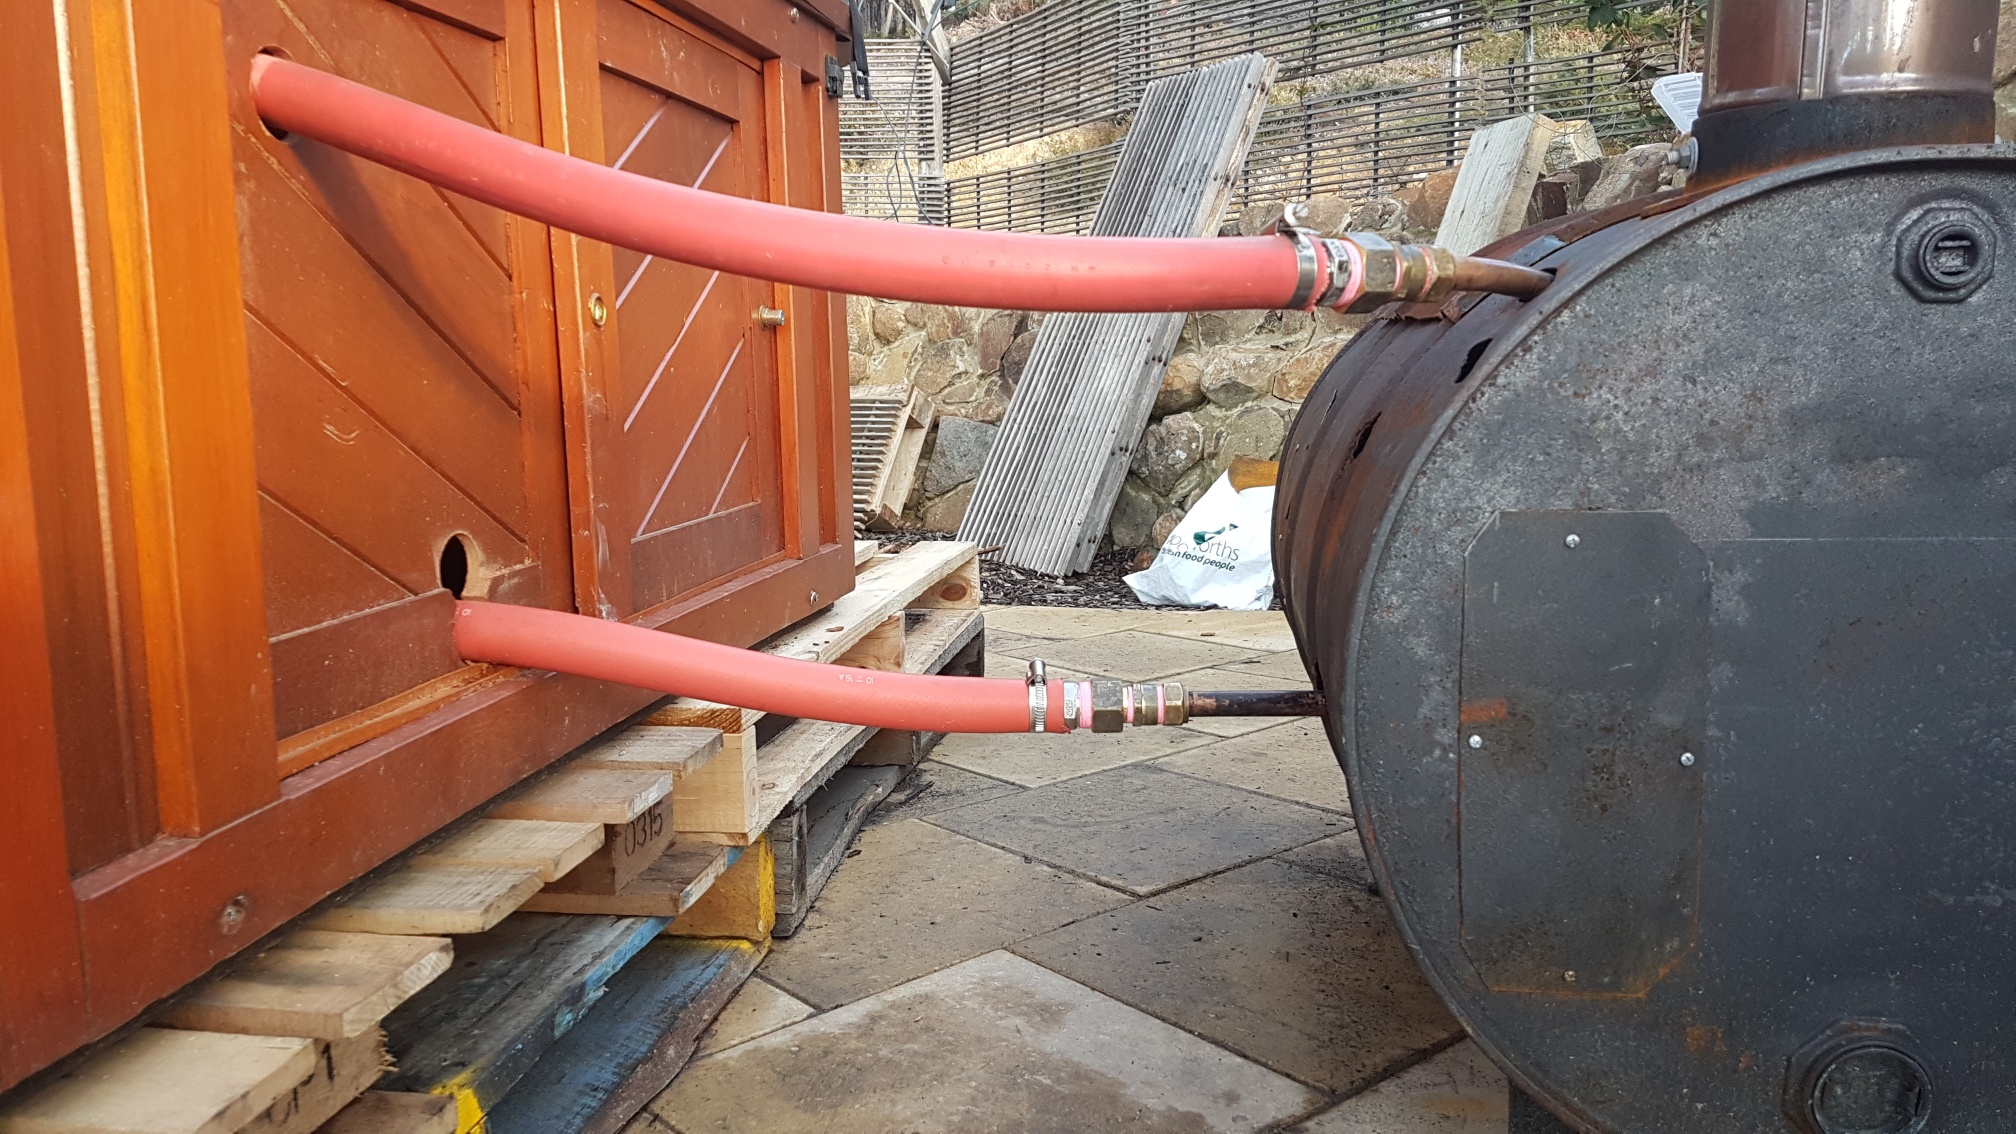
5. Connect the hot tub outlets to the copper spiral pipe ends.
We used flexible, heat resistant hoses, but we have seen other people use metal pipe or rigid plastic pipe.
6. Extra Options
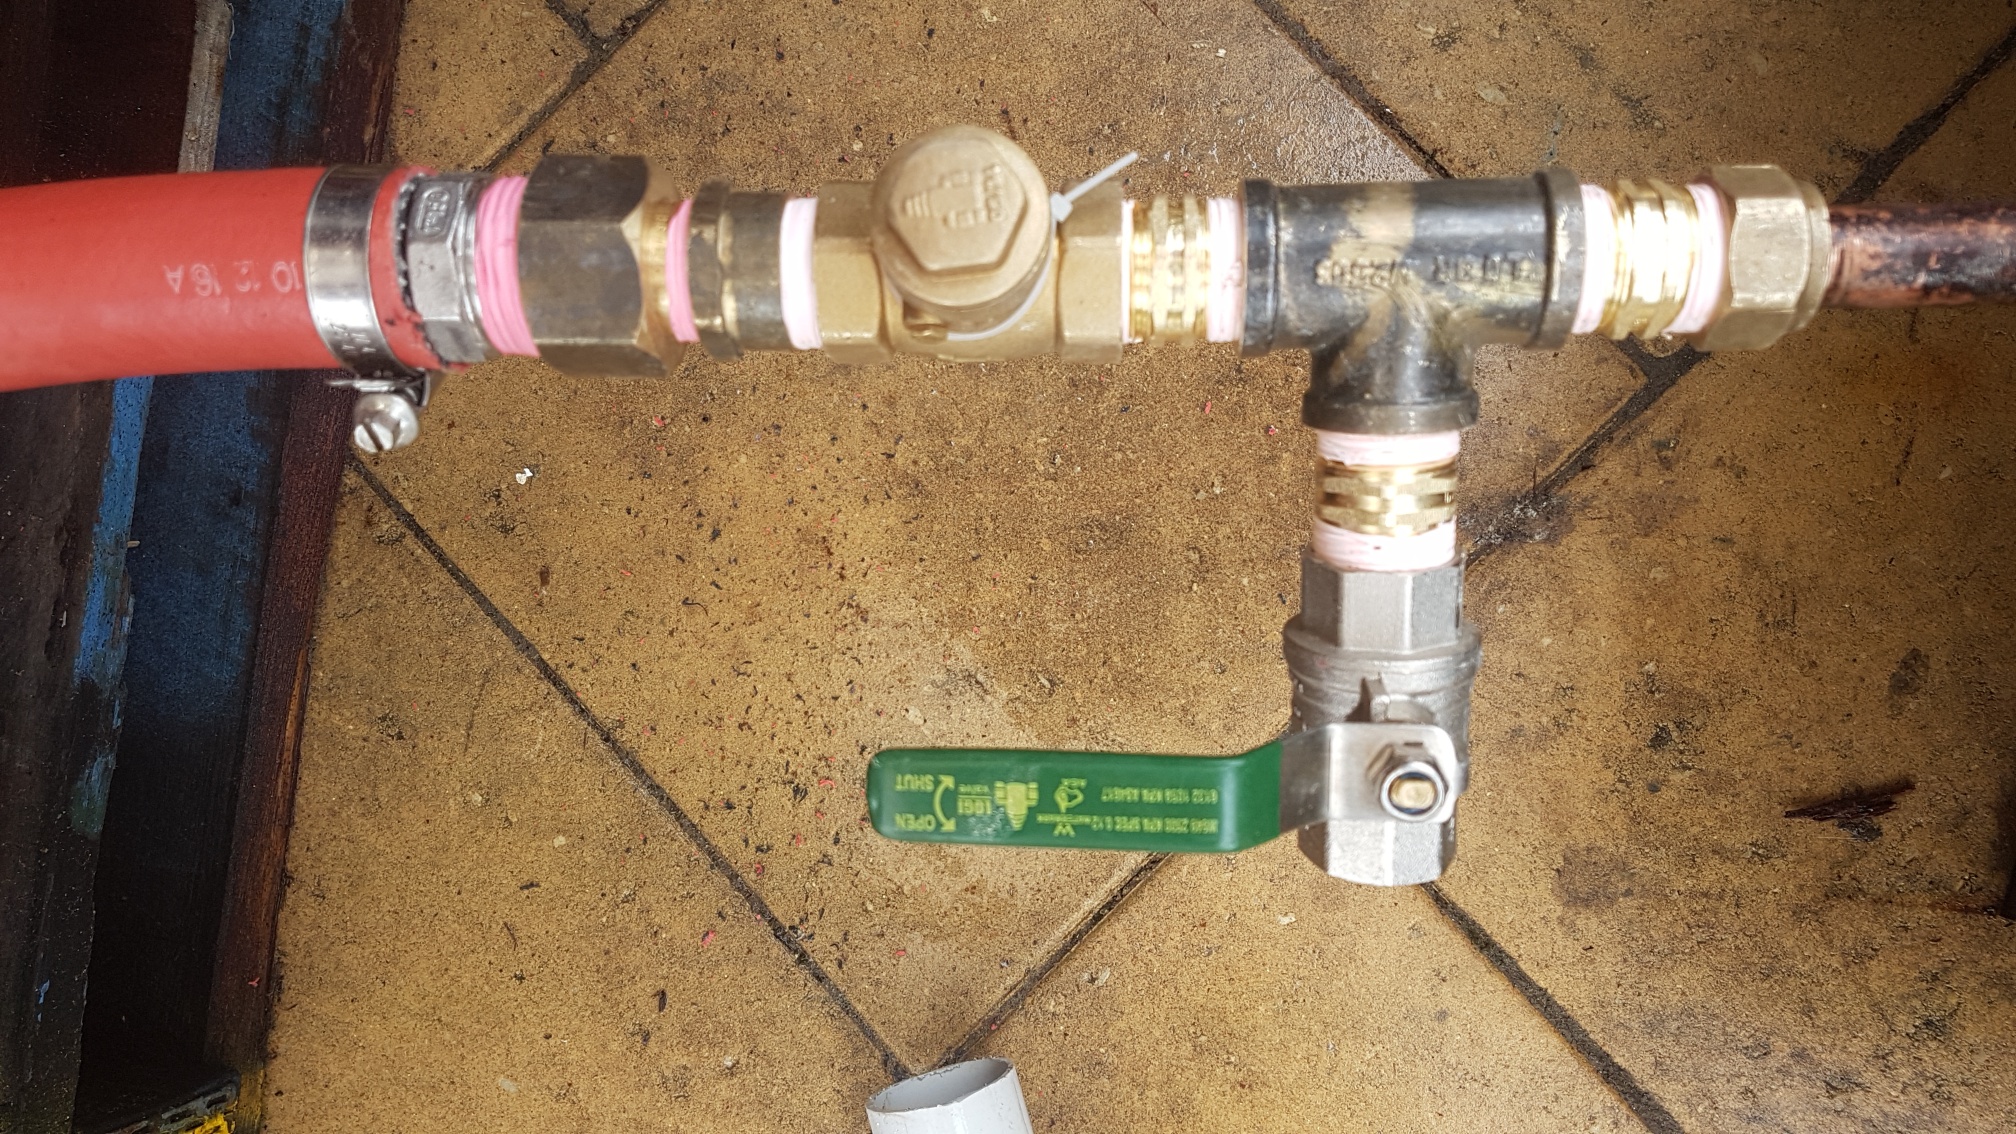
- We had planned to empty the tub with a siphon each time, but we decided to put a tap on the lower hose to drain the tub easily.
- Adding a swing valve: a swing valve allows water to flow in one direction only, so it can massively improve the efficiency of the hot tub by preventing cold water from the tub from flowing into the water inlet coming from the wood heater. We highly recommend the addition of a swing valve- it has taken an hour off our heat-up time. Make sure you attach it to lower outlet leading from the hot tub to the wood heater. It can be placed just before the water enters the wood heater.
And there you have it. A woodfired hot tub! Fill the tub with water, light a fire in the barrel stove, put the cover on the jacuzzi, and wait. We put approximately 800 litres into our tub and if the water is very cold (4ºC), it takes around 4 hours to be over 40º. I like it to be about 46º, but 42º suits the rest of the family perfectly. The experience is unbelievably indulgent, and we’re really glad we built it.
Keep checking back here- videos of the tub in action coming soon!
Related Posts: Hot Tub, Anyone? and Hot Tub Fail # 1